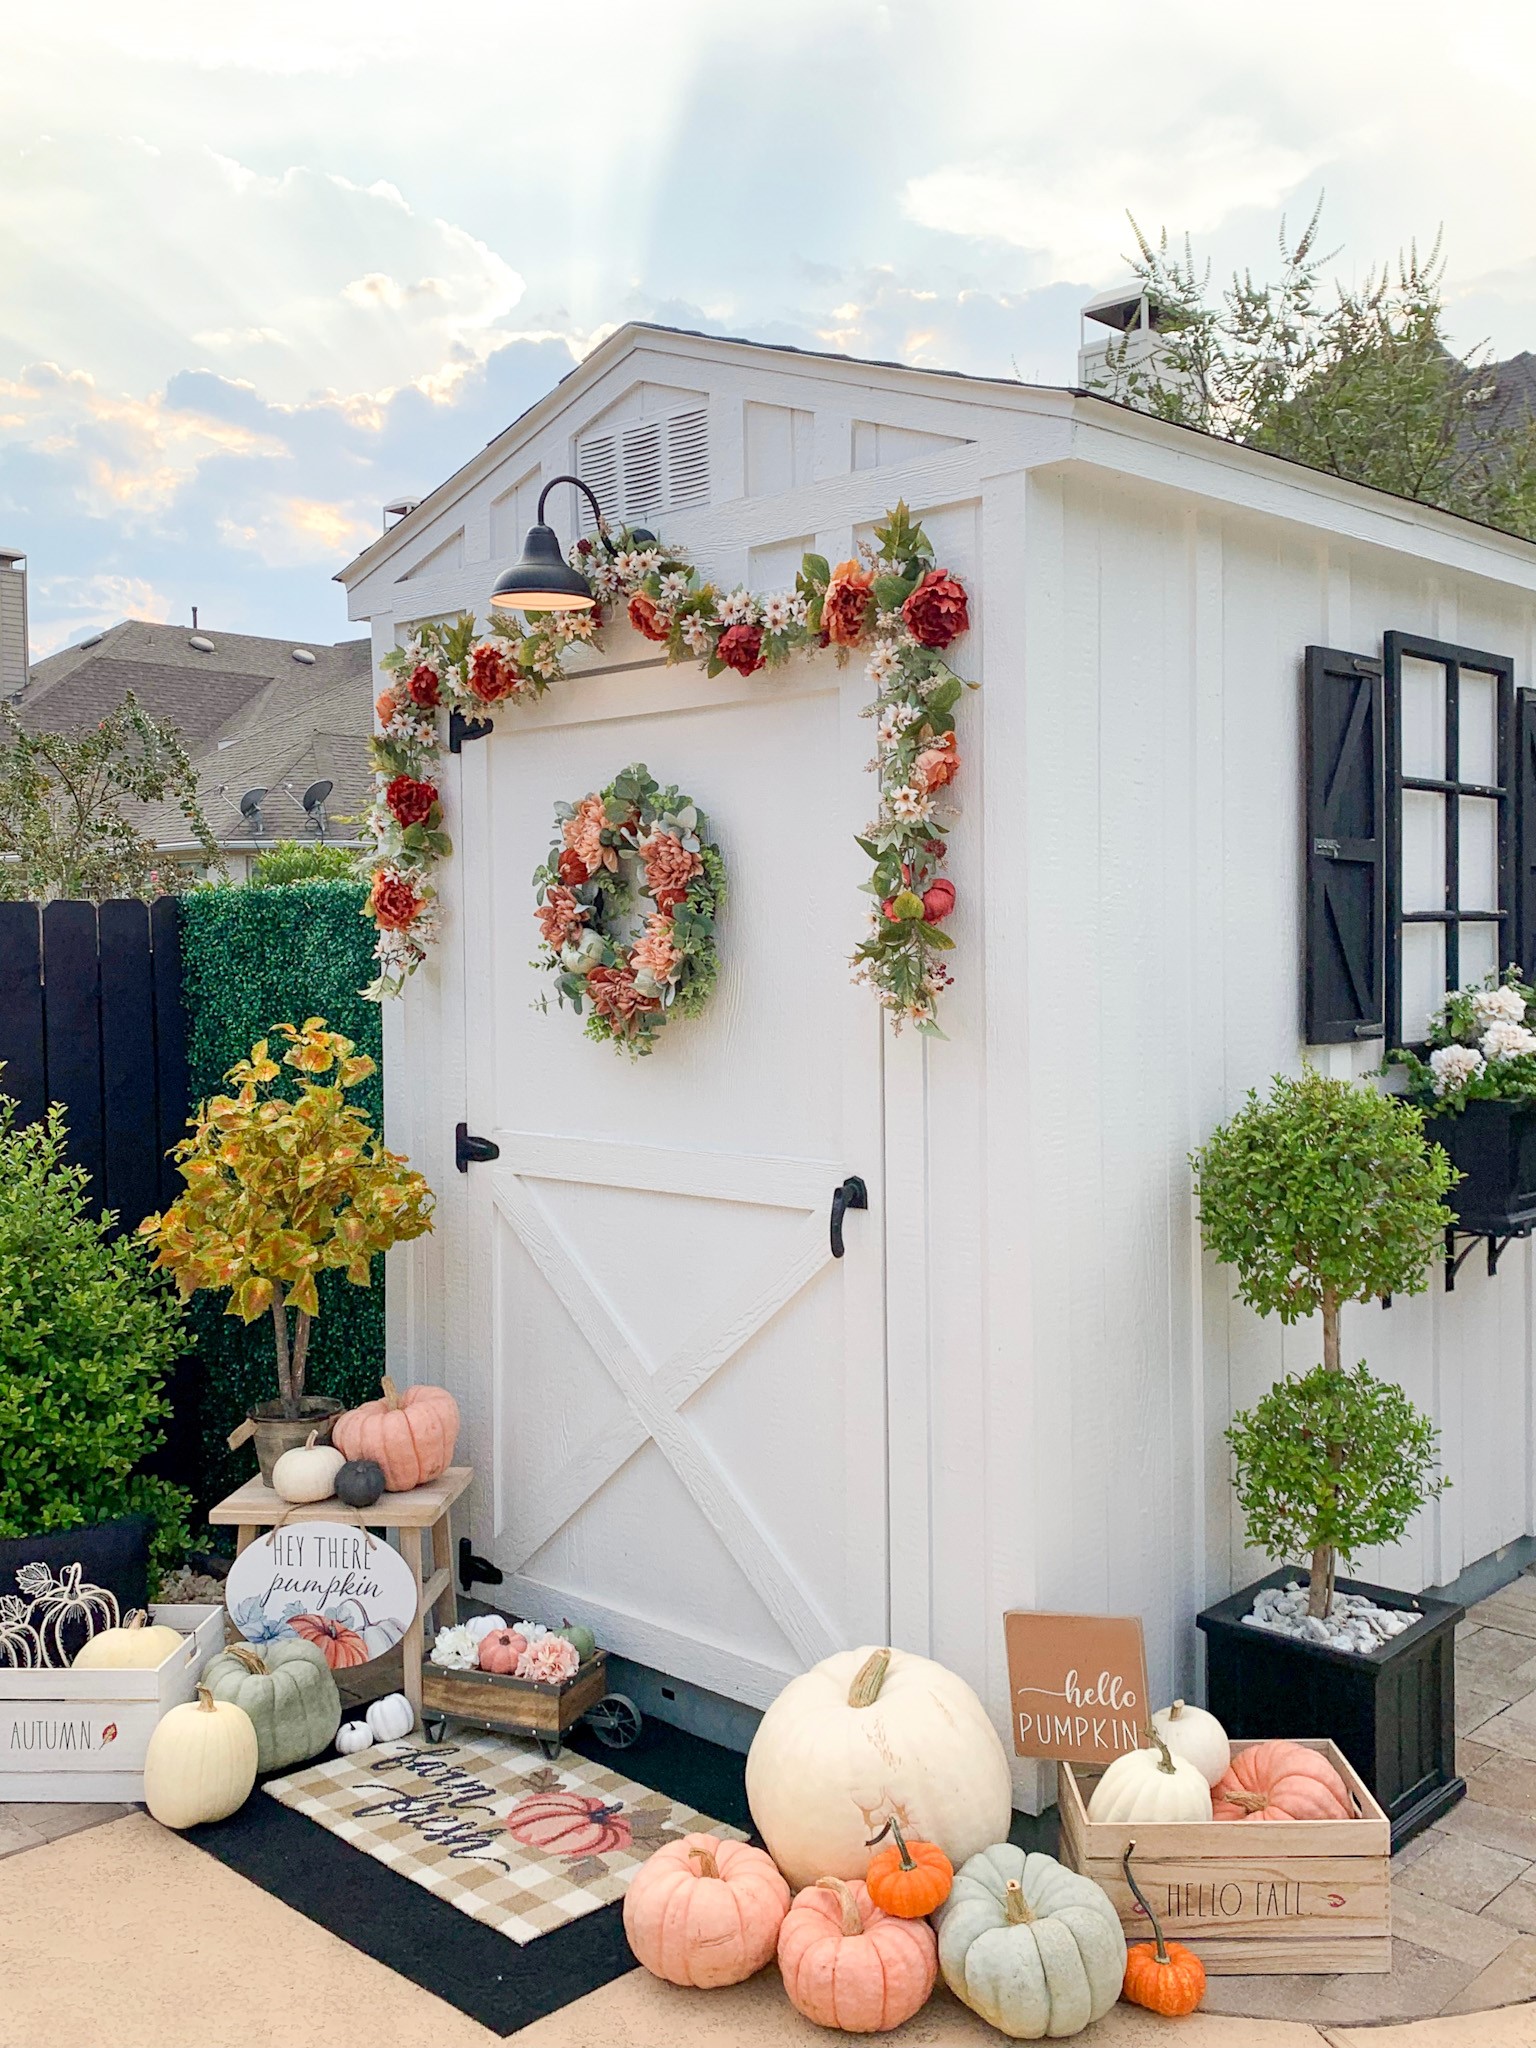
When we bought our home in Texas, the first thing I thought I was going to do in the backyard was to remove that ugly brown shed! We have very large windows in our home that look out into the backyard and the shed was definitely an eye sore. Not only was it unpleasant to look at, but I was also afraid of going inside the shed because I felt that with all the brown flooring and walls bugs could easily hide and jump out at me at any time!!! To make matters worse, the top shelf could only be accessed by stepping up on a ladder and I couldn’t help but worry about what might be lurking on the shelves as I nervously climbed up the ladder.
Why I decided to keep the shed:
After spending many years hosting events and parties, I had accumulated quite the collection of dishware, glassware and serve-ware for all major holidays, as well as everyday living. As I began to unpack all these items, I quickly realized that I did not have space in our new home where I could easily organize these collections into one location. My first thought was to have an oversized cabinet built in the garage similar to the one I had in our previous home that housed all my dishes. While trying to visualize where in the garage I could build this cabinet without encroaching on our useable space, something suddenly clicked and the shed seemed like the ultimate solution! Naturally, the shed was not going to work for me in the current state it was in and so a makeover was in order.
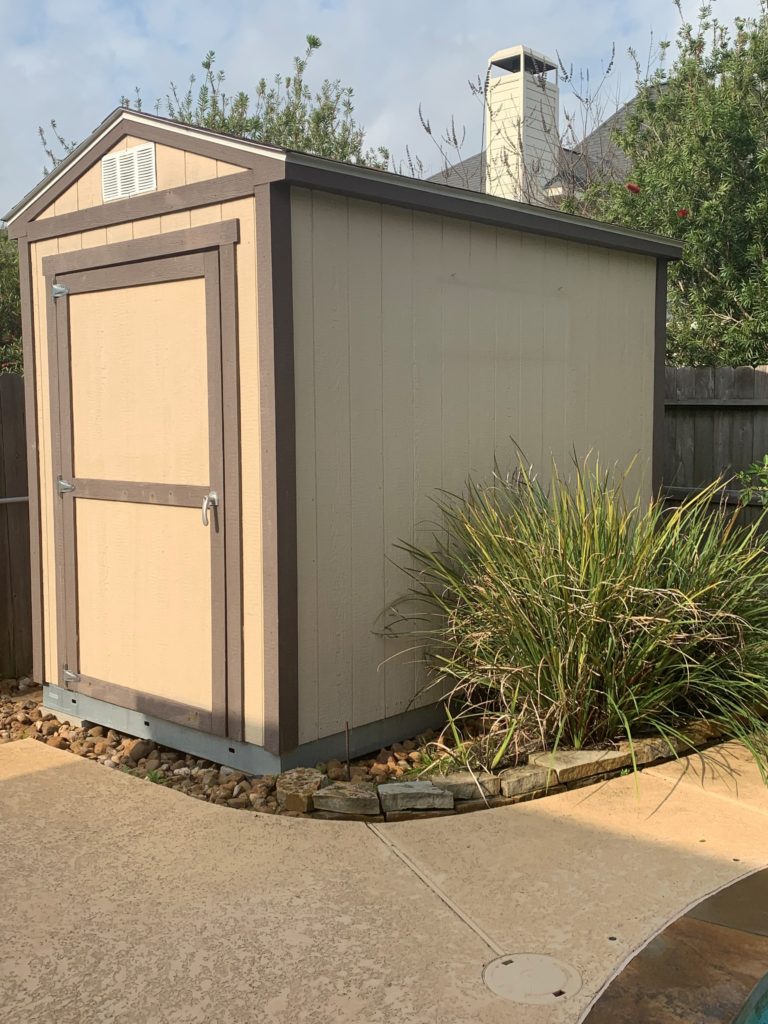
“I thought to myself that I can make this shed work for me!”
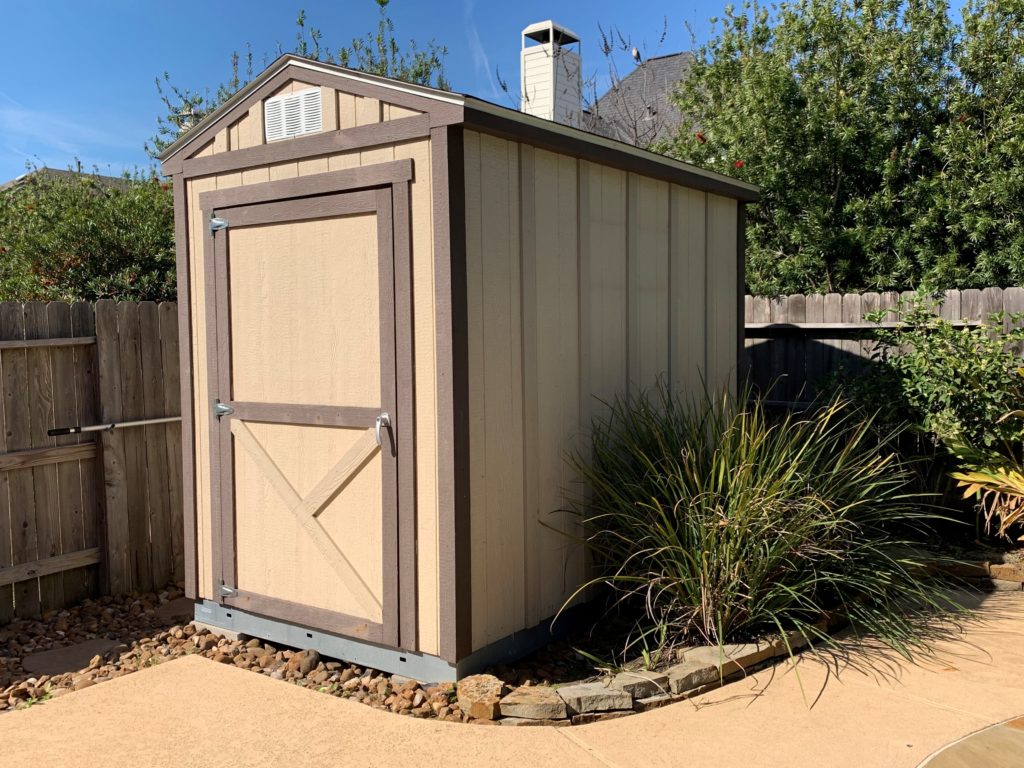
As you can see, the shed was not the prettiest to look at and the surrounding landscaping was in definite need of sprucing up as well. The first step was to create a design plan to make this shed a focal point of the yard and something I would love to look at regularly. It’s important to maintain consistency in your home décor and style throughout your home and continuing into your outdoor spaces. Since my home interior is decorated in farmhouse style, I knew right away in my head exactly how it was going to look!
Step 1: Add Decorative Exterior Trim
To give the exterior of the shed more of a farmhouse style, the “X” pattern was added to the lower portion of the door and the board and batten siding was added. You can really see the farmhouse style coming to life in this photo (even though the “X” is not completely done yet on the door).
Step 2: Paint – Interior and Exterior
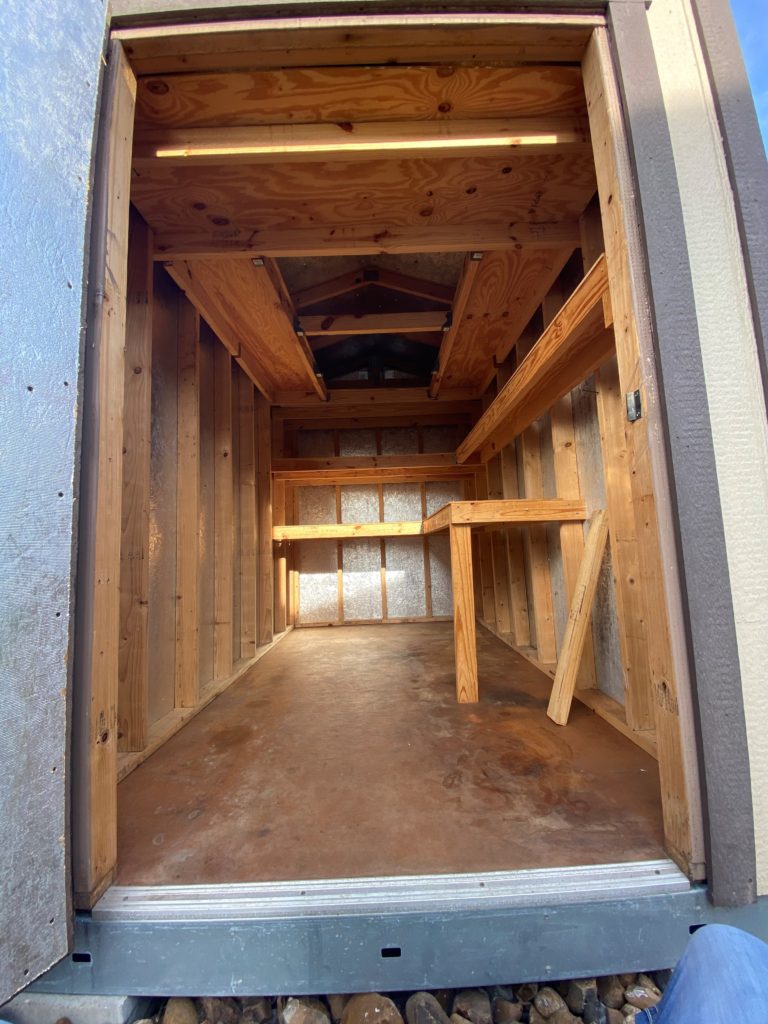
The next part of the project was painting the interior and exterior. In this photo, you can see how a ladder was needed to look at the top of the surrounding shelves. Not knowing what could be hiding in the shadows on the top shelf always made me feel nervous, as there was also no lighting in the shed. I knew that adding proper lighting and painting the shelves white, I would at least be able to see whatever might have made its way into my shed!

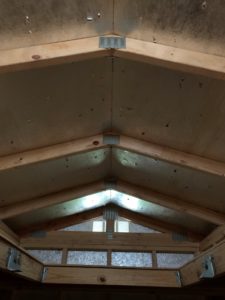
Shed Ceiling Before Paint 
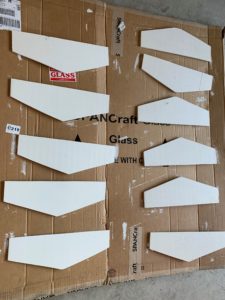
Painted Ceiling Triangles
I decided not to add wood paneling to the interior walls and ceiling, as I wanted to maintain a rustic style so that the 2×4 wood beams on the ceiling and walls could still be seen after being painted. I made triangular wood panels to cover the metal connection plates on the ceiling to create a more finished look. I wanted a paint that was white, but not bright white. Since we can see the shed from inside the home, I knew I needed to choose my white paint carefully to avoid a reflection from the sun on the shed. I used Sherwin Williams SW7004 Snowbound A-1 Exterior because it has a slight grey undertone. It’s also a beautiful color! The same color was used on both the inside and outside of the shed.
Step 3: Update Flooring
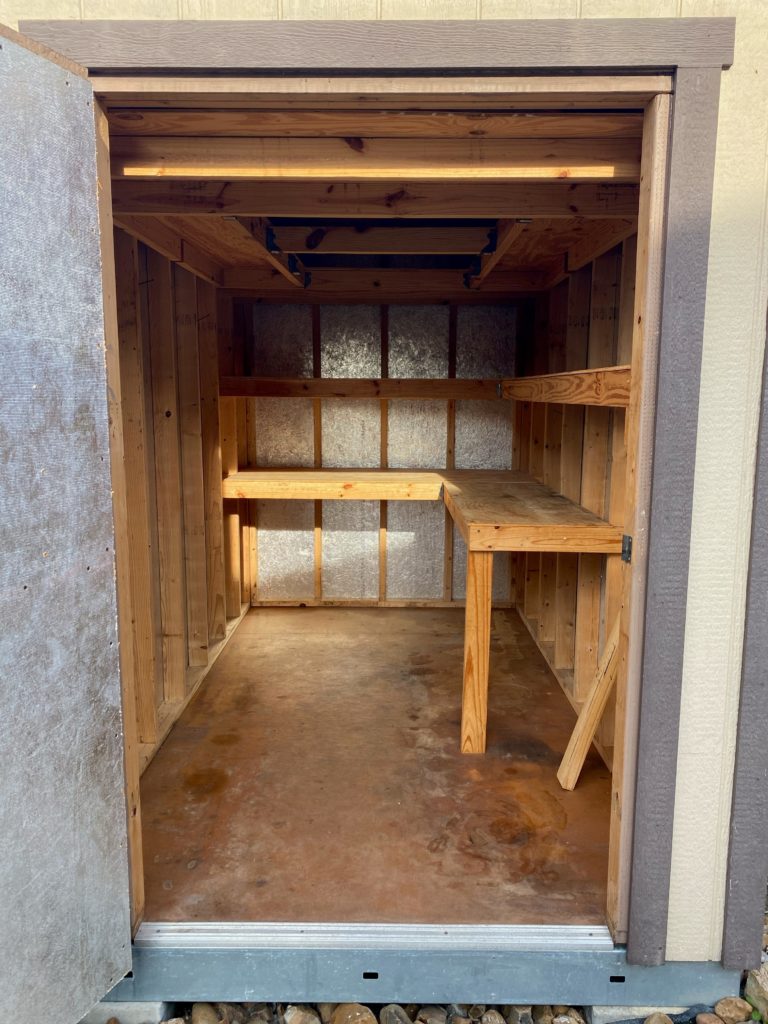
Now it was time to address that awful flooring inside! The easiest and best solution was to add LVT (Luxury Vinyl Tile) over the existing flooring. LVT is a product that looks like real wood but is more practical.
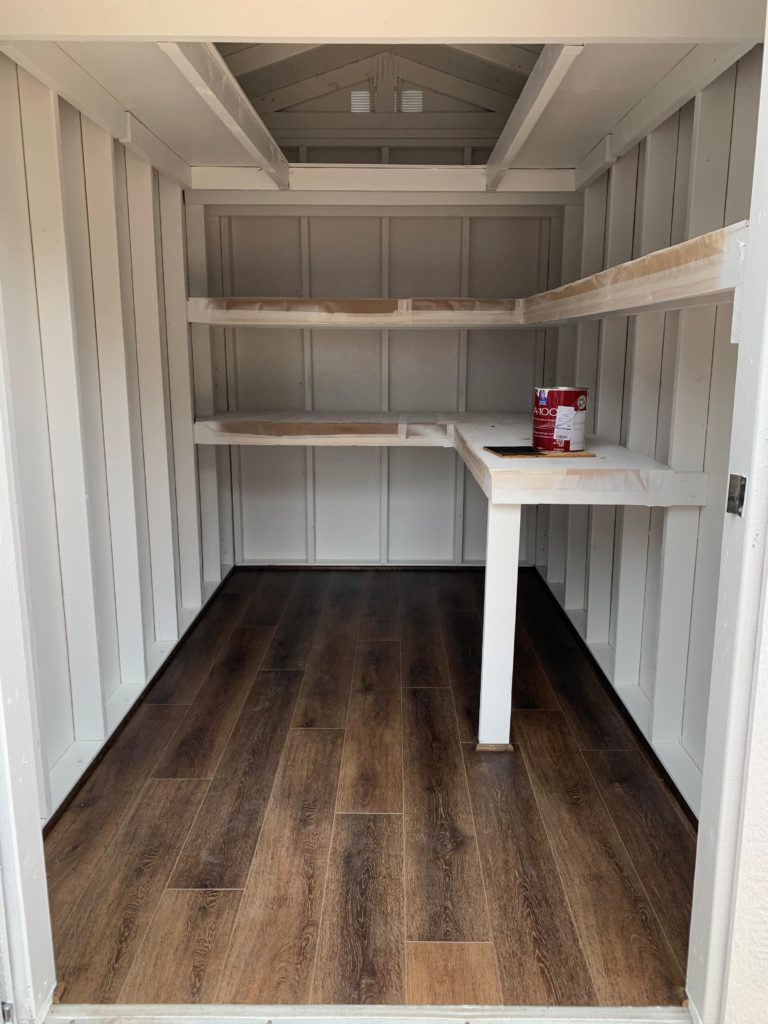
Step 4: Stain Interior Shelves
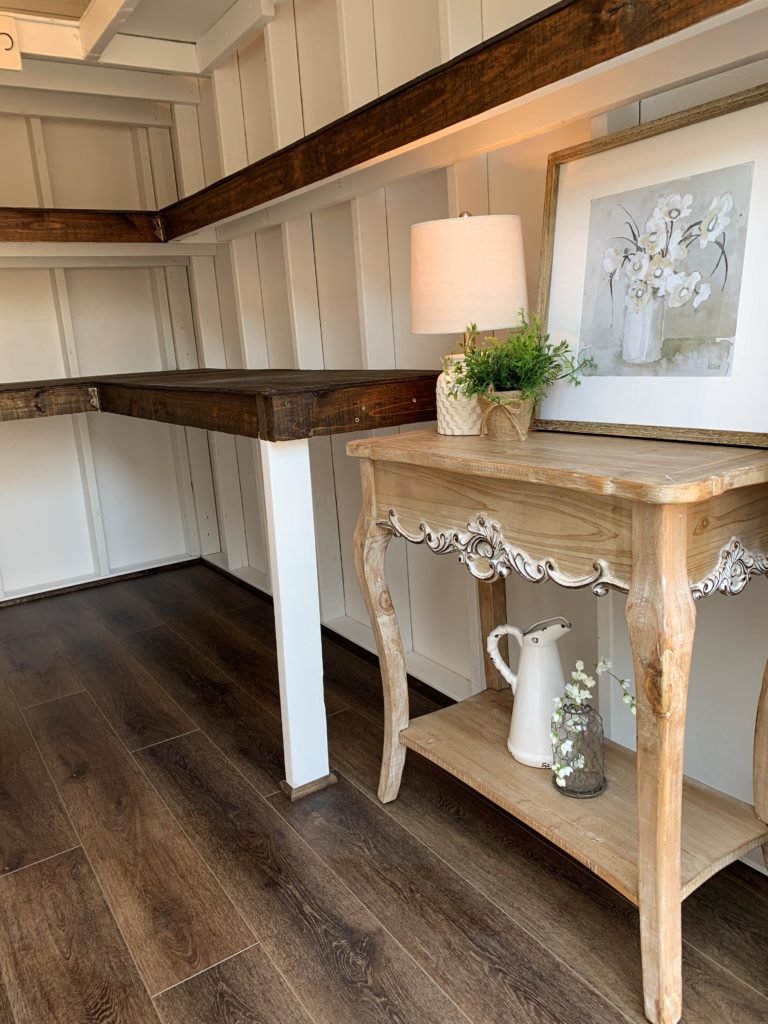
Wow! What a difference a little paint and flooring made! Everything is coming along nicely and I am so excited for the finished result! The paint and flooring look beautiful and she is ready to have her shelves stained. I chose Minwax, Dark Walnut 2716 to complement the color of the flooring.
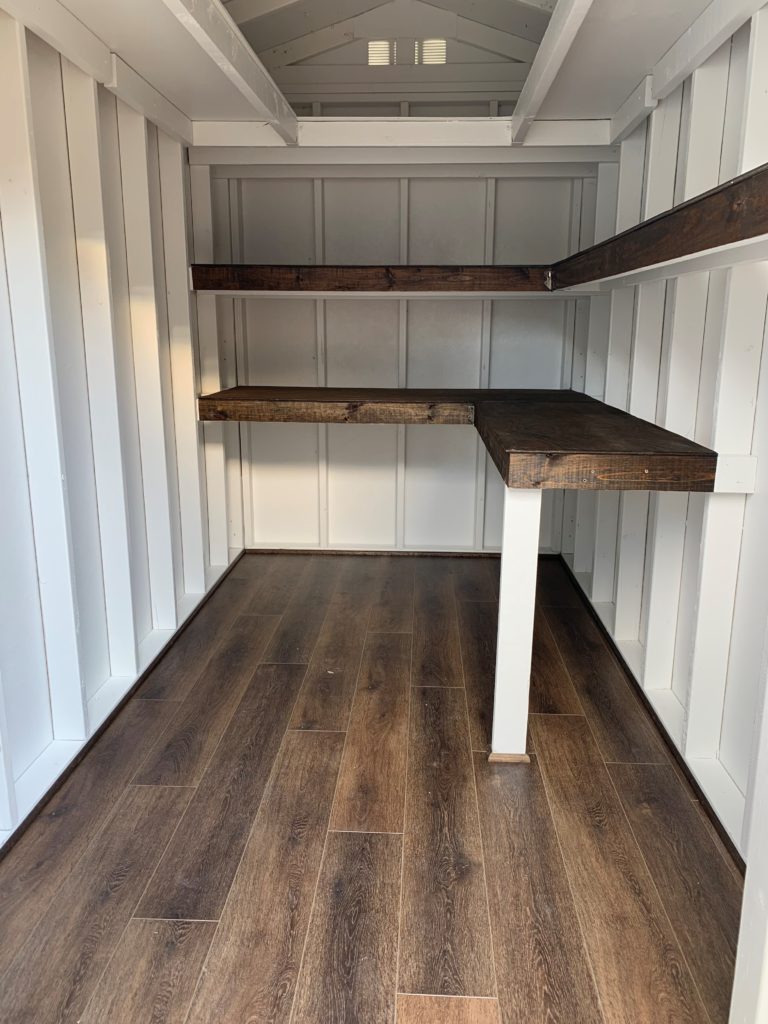
Look at that gorgeous interior finish. She’s a beauty!!!
Step 5: Add Lighting

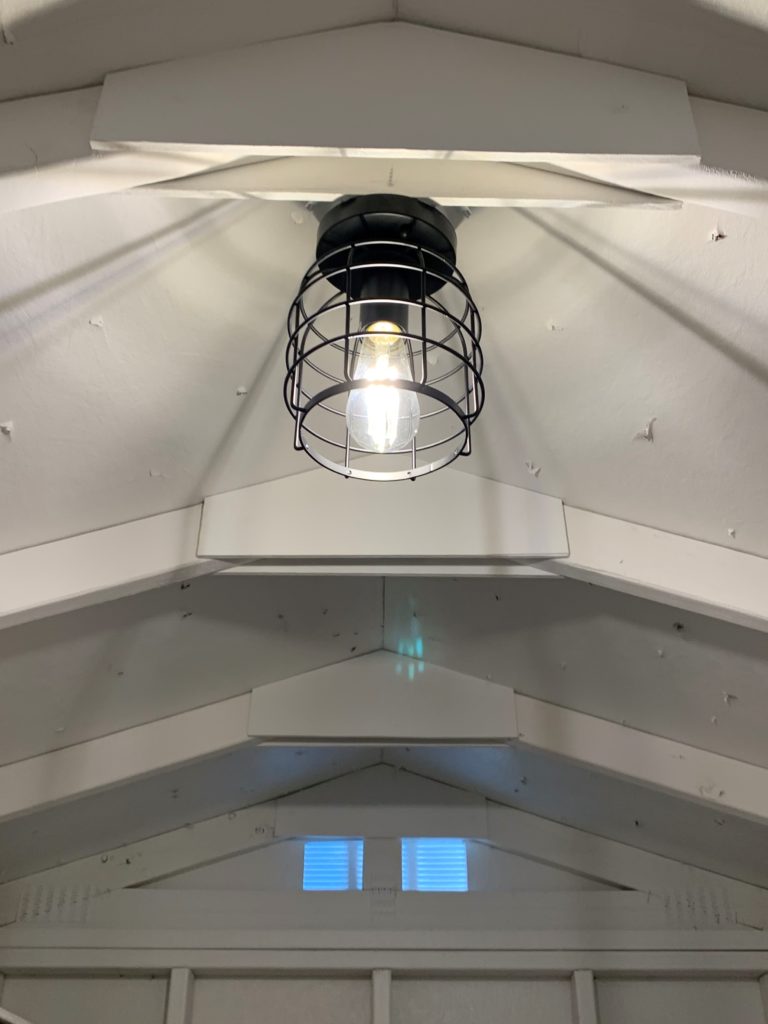
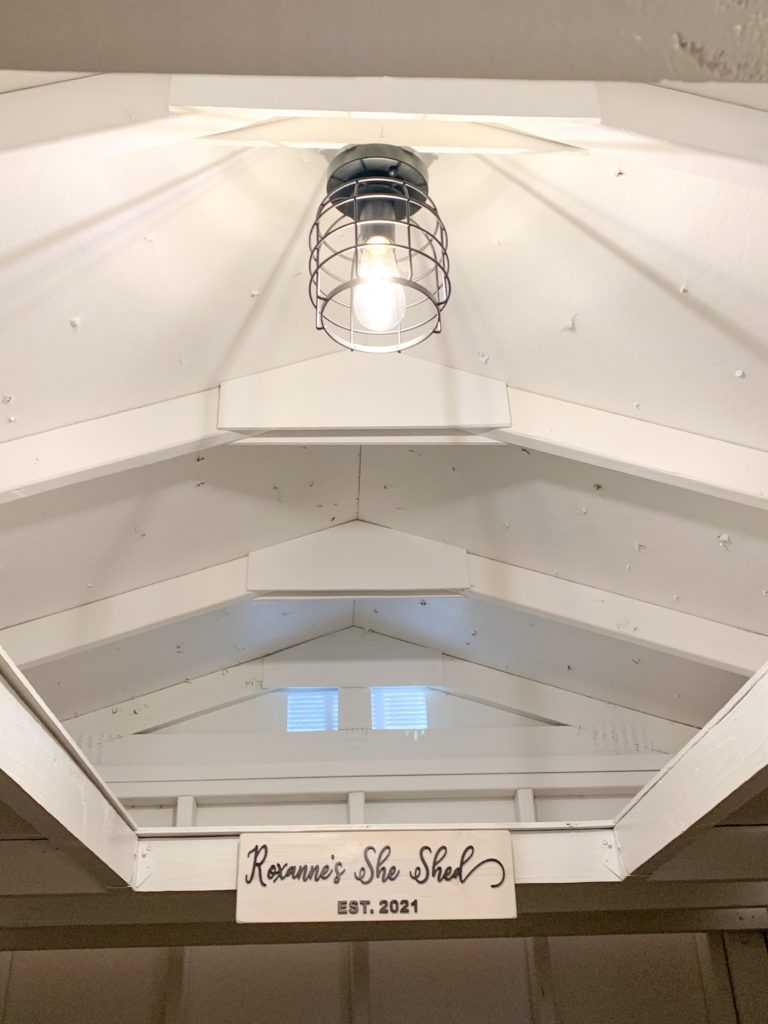
New Overhead Interior Lighting 
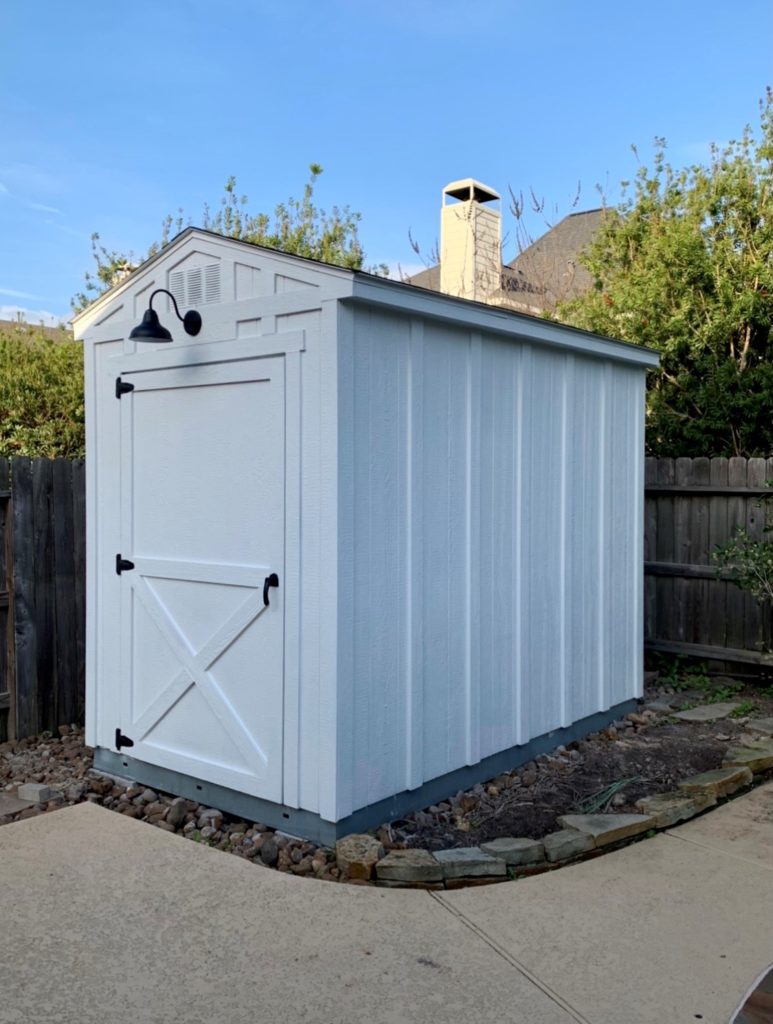
New Outdoor Light Fixture
Next, the lighting was added to the interior and exterior. I chose classic black farmhouse fixtures – cage lighting fixture for the interior and barn light fixture for the exterior. An electrician was hired to run electrical from the house and along the side yard and into the shed, so that the fixtures could be installed.
Step 6: Add the Finishing Touches
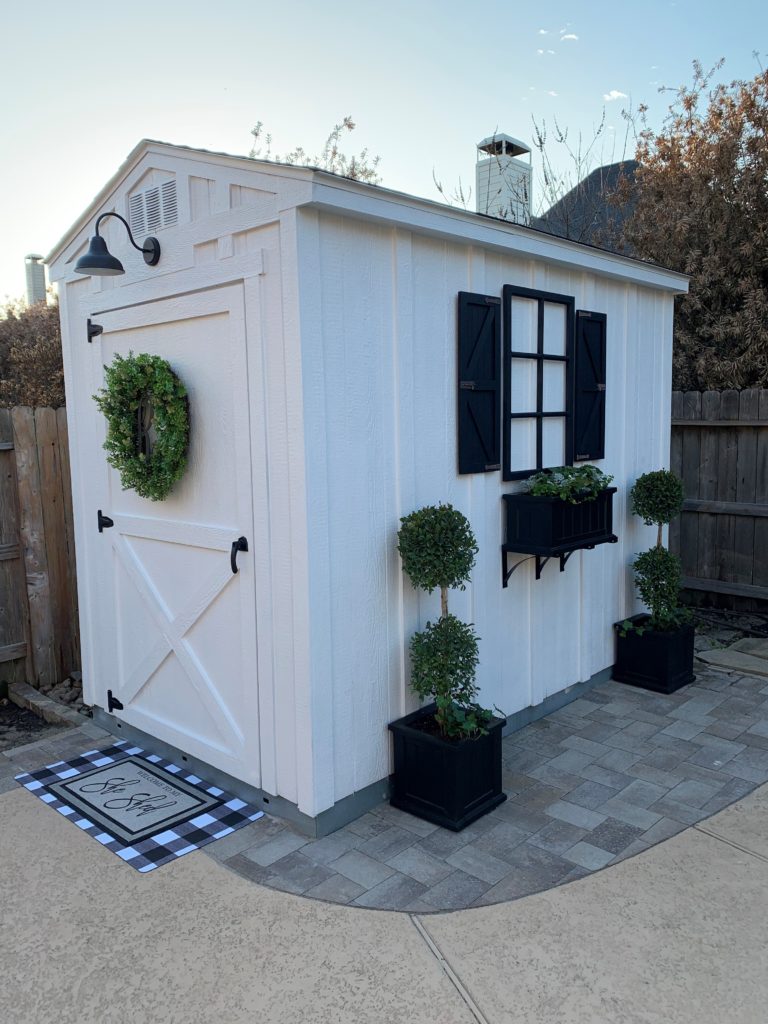
I am really loving the look of my new Farmhouse She Shed! However, she clearly needed some pretty exterior surroundings to finish the look she deserved and a few personal interior touches.

Outdoor Accessories Added 
Interior Accessories Added 
Personalized Sign
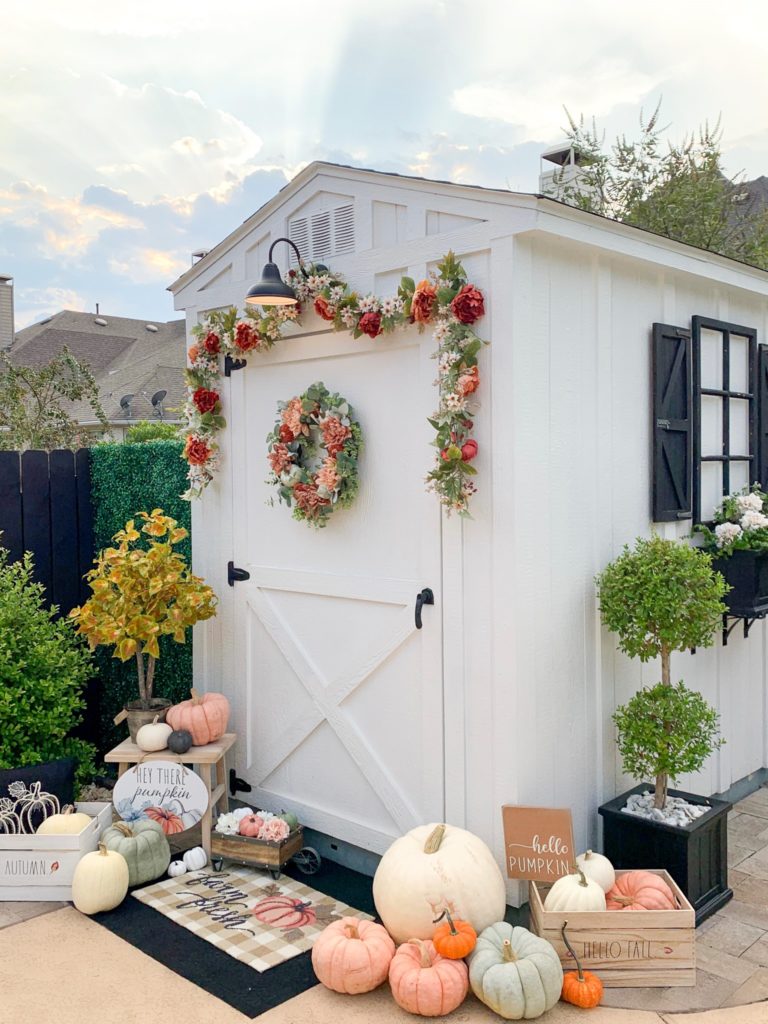
I added an outdoor wreath (weather approved) to the door. To save on expenses, we spray painted the existing outdoor hardware black, as well as the window frame and shutters. I didn’t want to have to worry about the sprinklers spraying the side of the shed, so we replaced the flowerbed with paver stones. Finally, to give it that black and white farmhouse pop, we added the black window frame, the window planter box, with bracket supports and the 2 black planter boxes to the side of the shed (the window frame and shutters were purchased from Hobby Lobby).
I also added decorative pieces inside to really give it a home-like feeling. Of course, I had to have a custom sign made with my name to finish the look and claim my new shed!
Next on the list is an affordable DIY backyard makeover that delivers a huge impact and finishes off the surrounding backyard. Stay tuned!
The Texas Freeze:
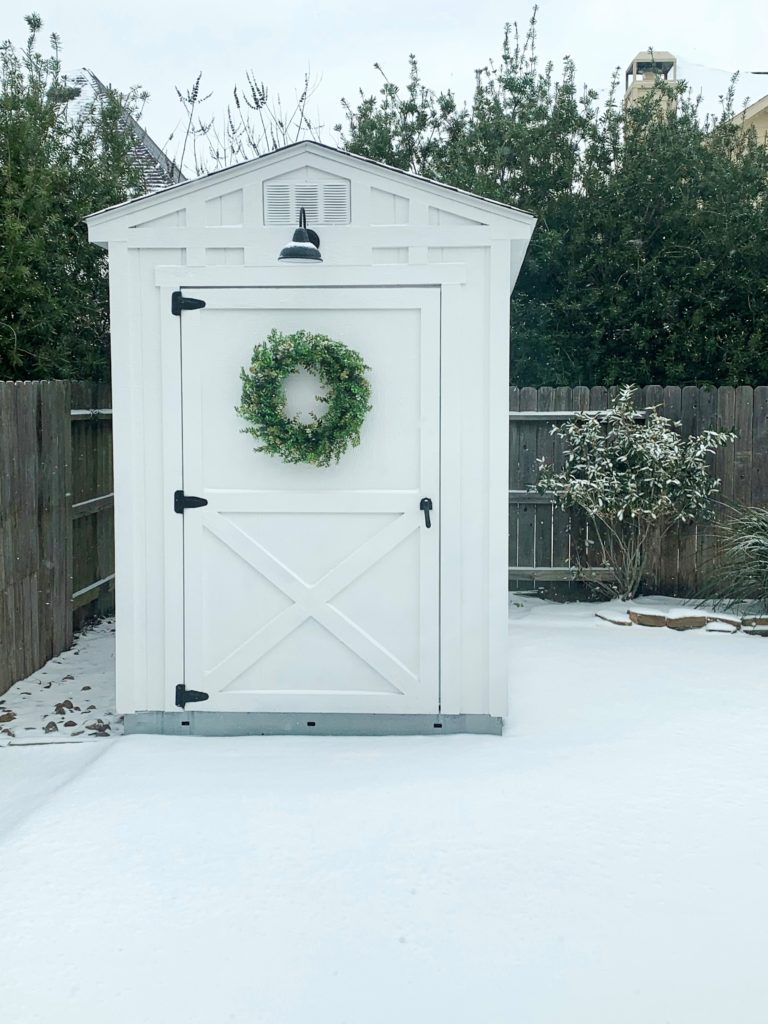
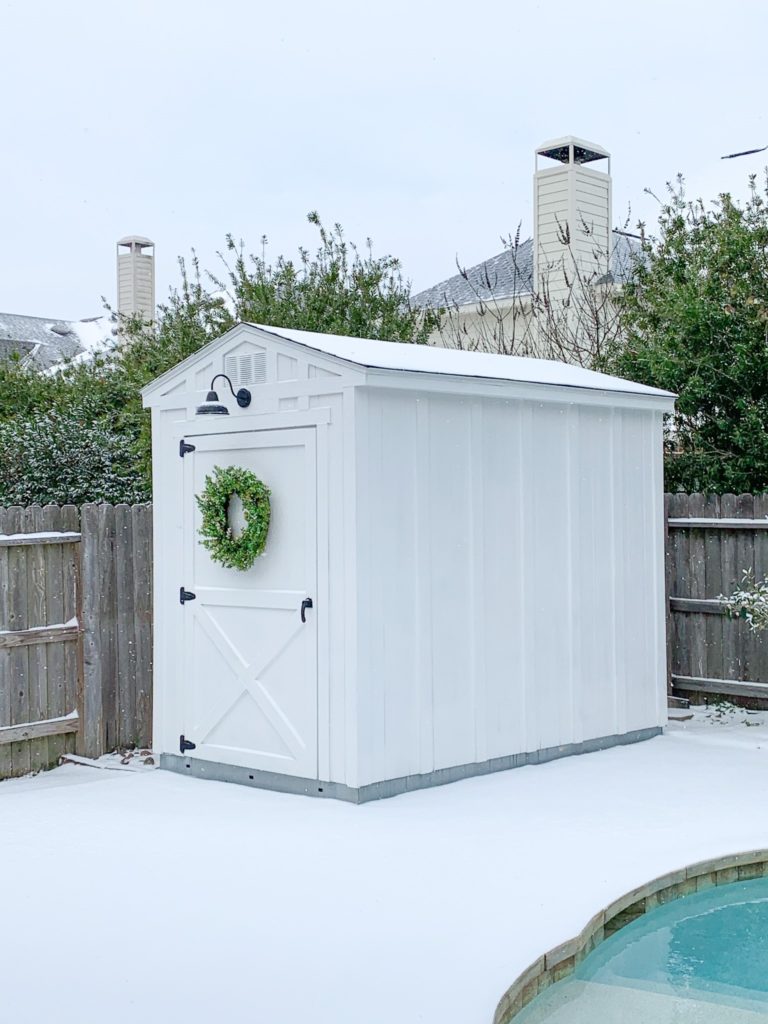
On February 15, 2021, we woke up to snow. Everything outside looked so beautiful, especially my beautiful white Farmhouse She Shed!
Sep 21, 2021
You Can Turn Your Shed Into a Beautiful Farmhouse She Shed
Leave a Reply Cancel reply
copyright © 2021 Roxy Home Living - home decor inspiration, Diy & blog
- all rights reserved -
I like that you talked about making the shed a focal point in the yard which makes them pleasant to look at. I would love to achieve that when I get this property that I will inherit from my grandparents. Even if the property is quite old, it will still be a good investment to opt for custom upscale sheds to increase its value of it which can be useful if ever I plan to sell it in the future.
Hi Mia, sorry I did not reply sooner, your note has just come to my attention. Glad you enjoyed the article and best of luck with your shed!
Thanks for your blog, nice to read. Do not stop.
Thank you so much for the nice compliment. More blogging coming your way!