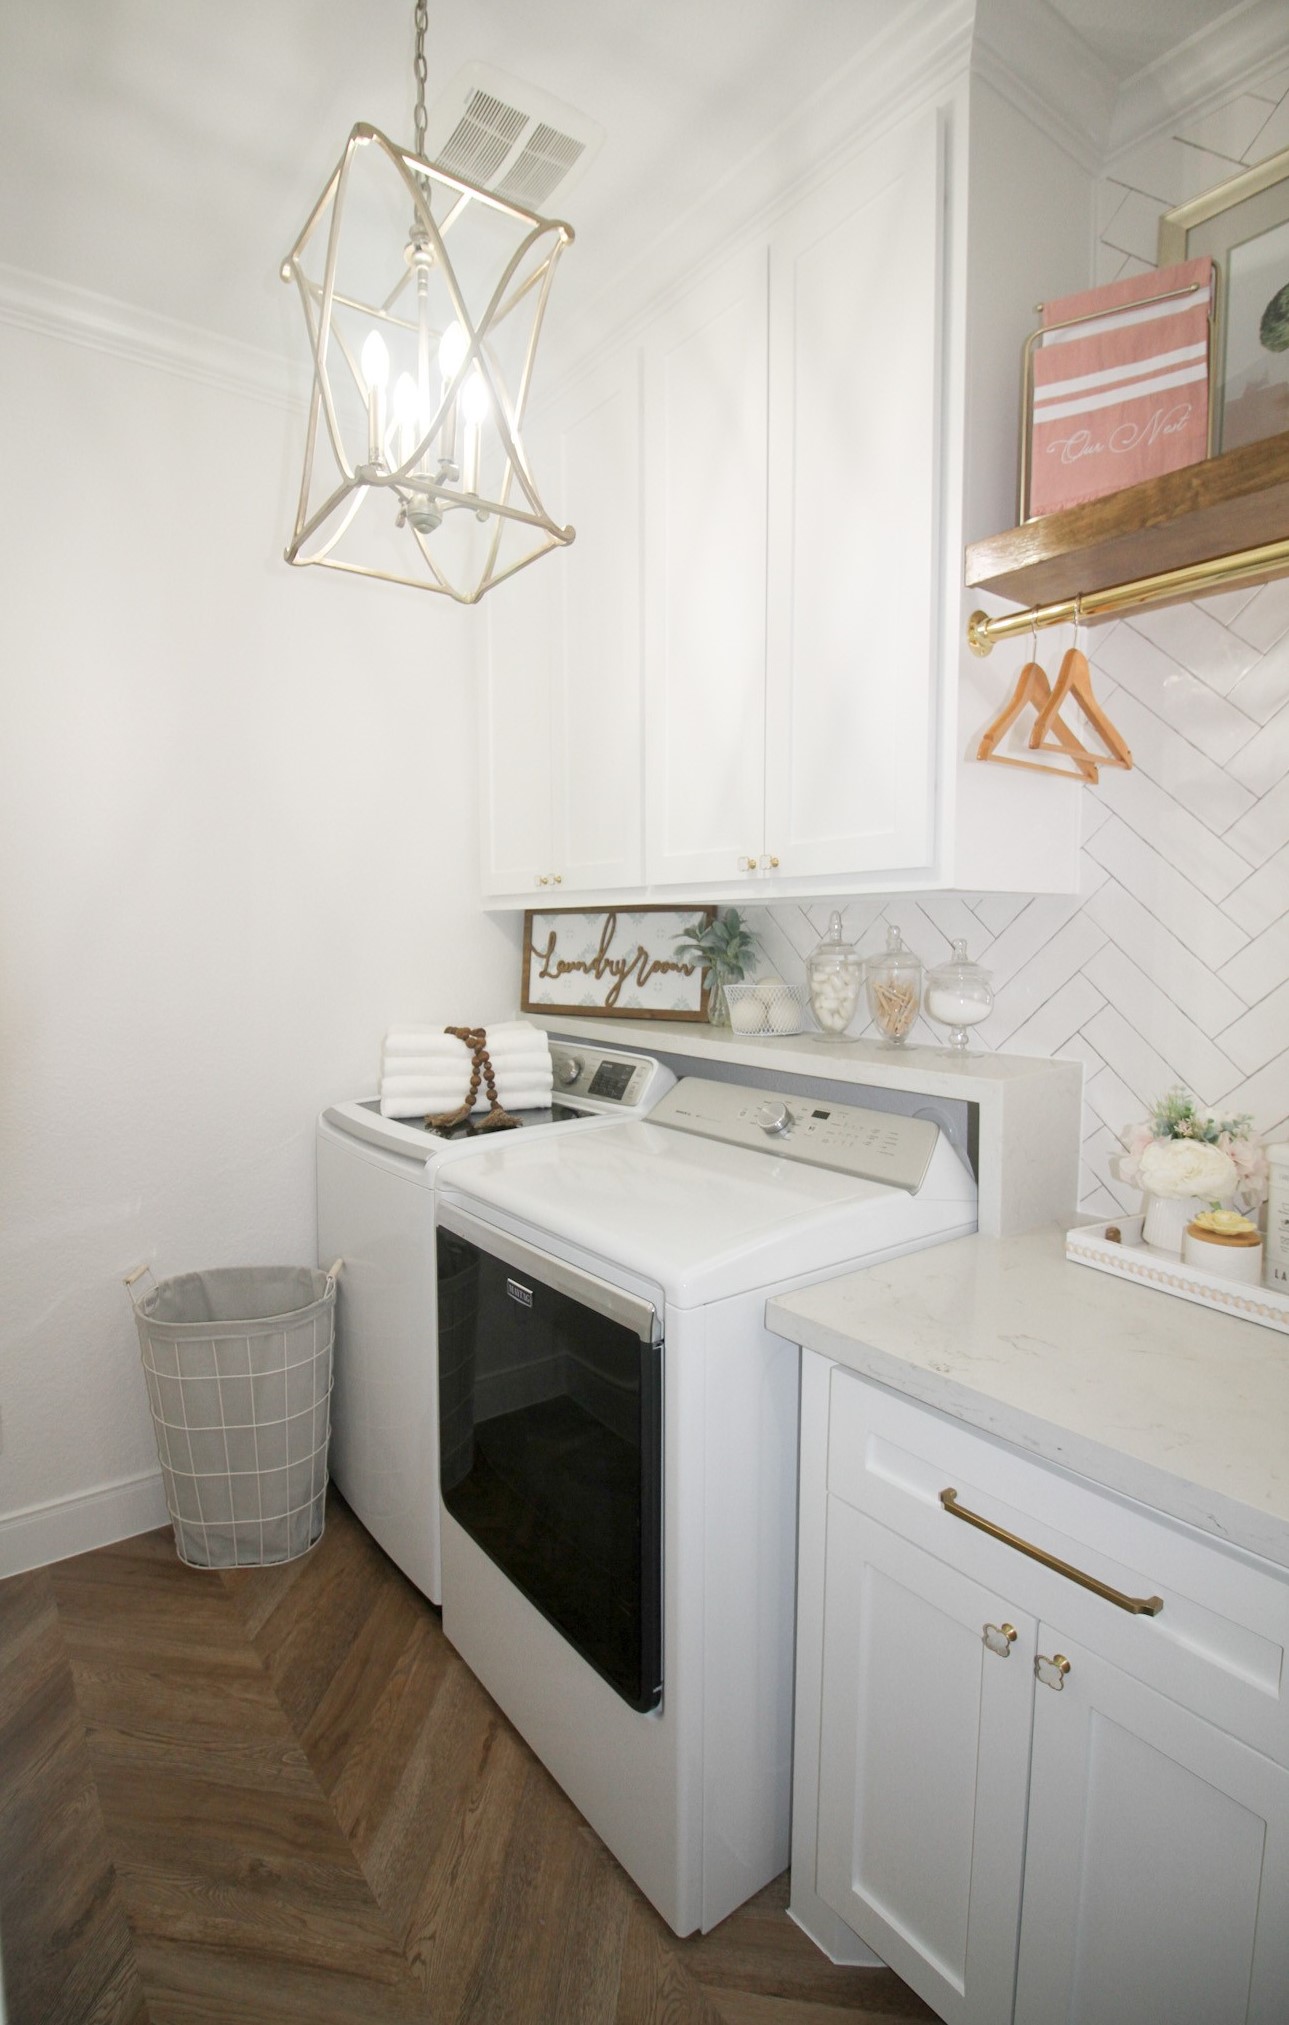
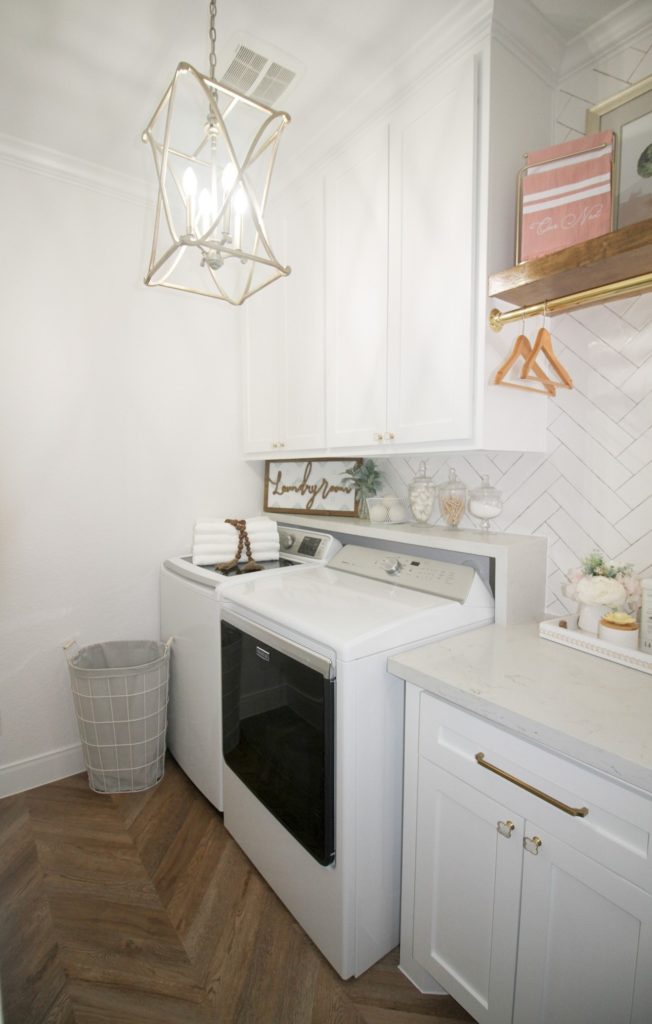
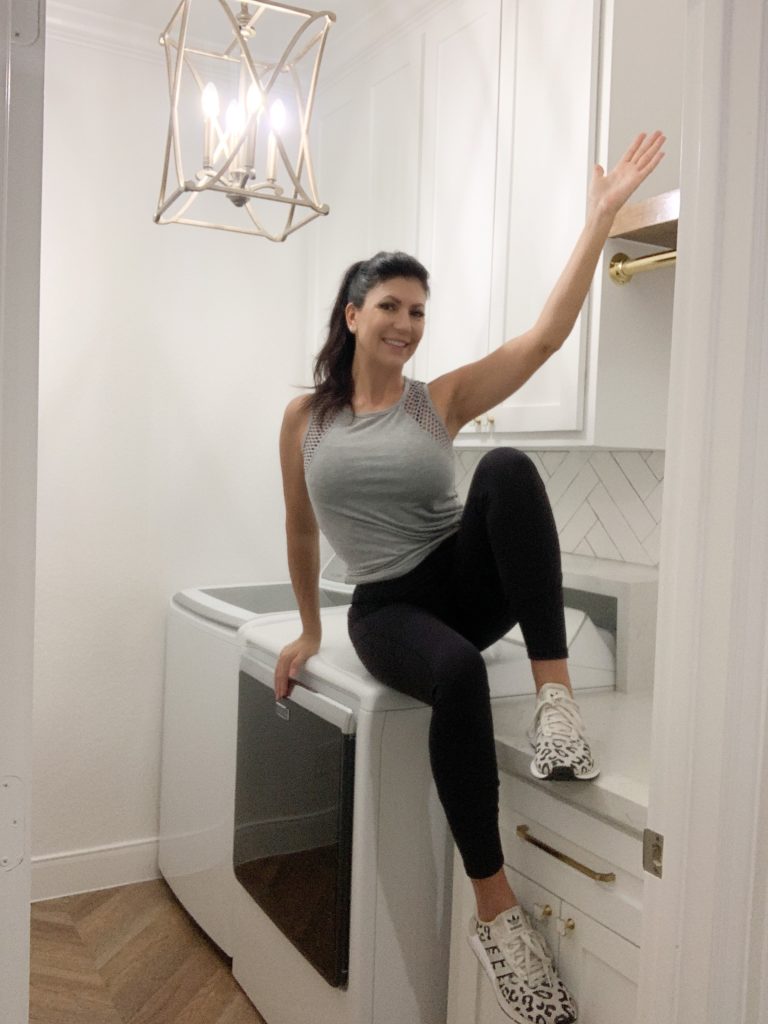
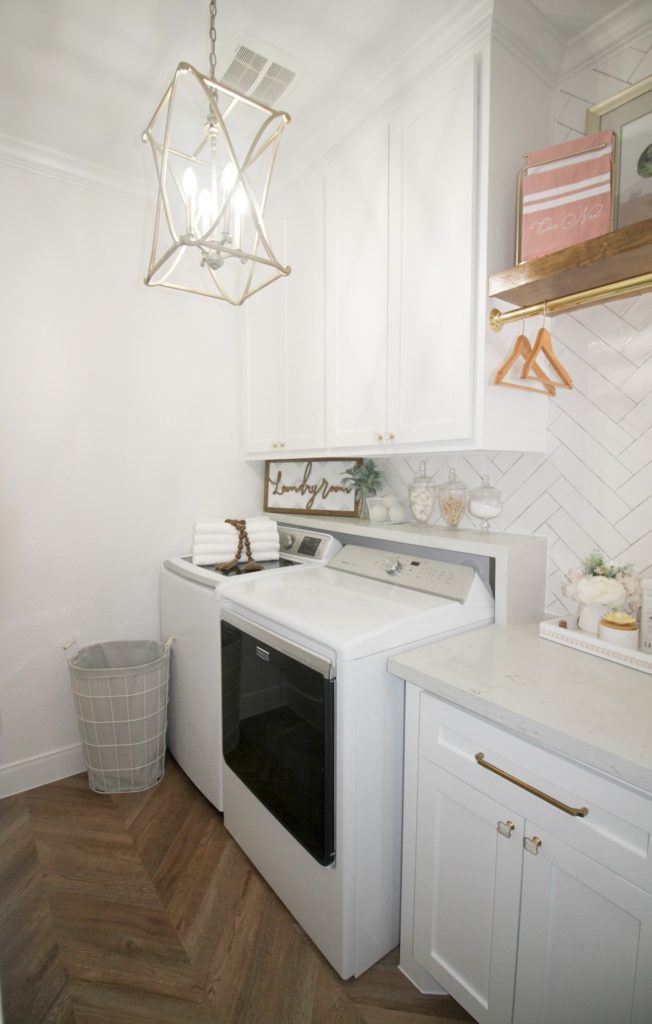
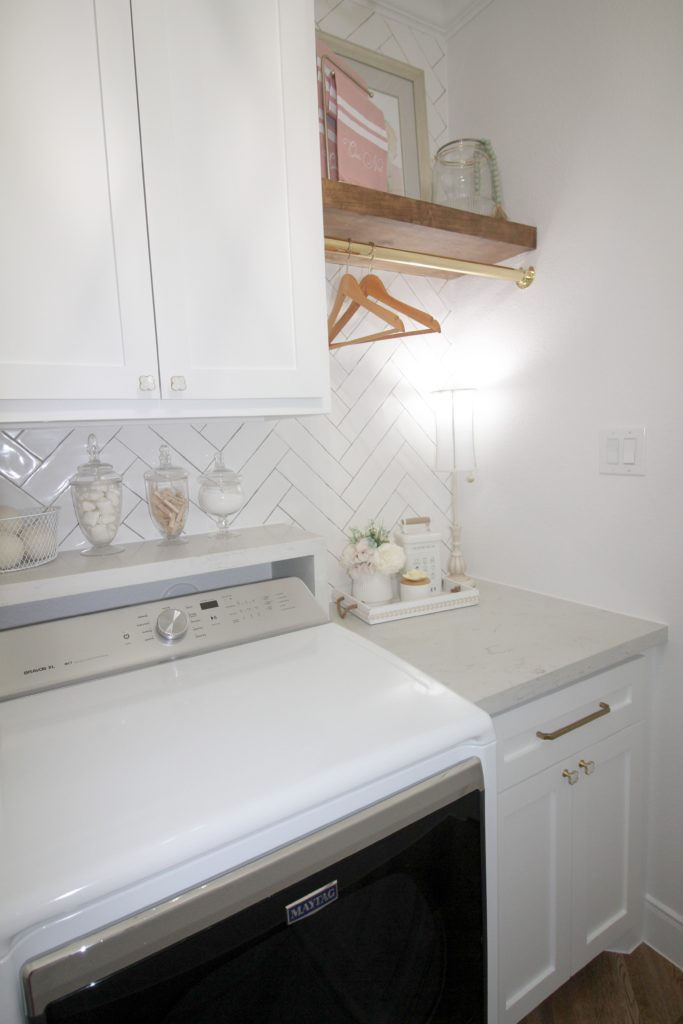
AFTER 
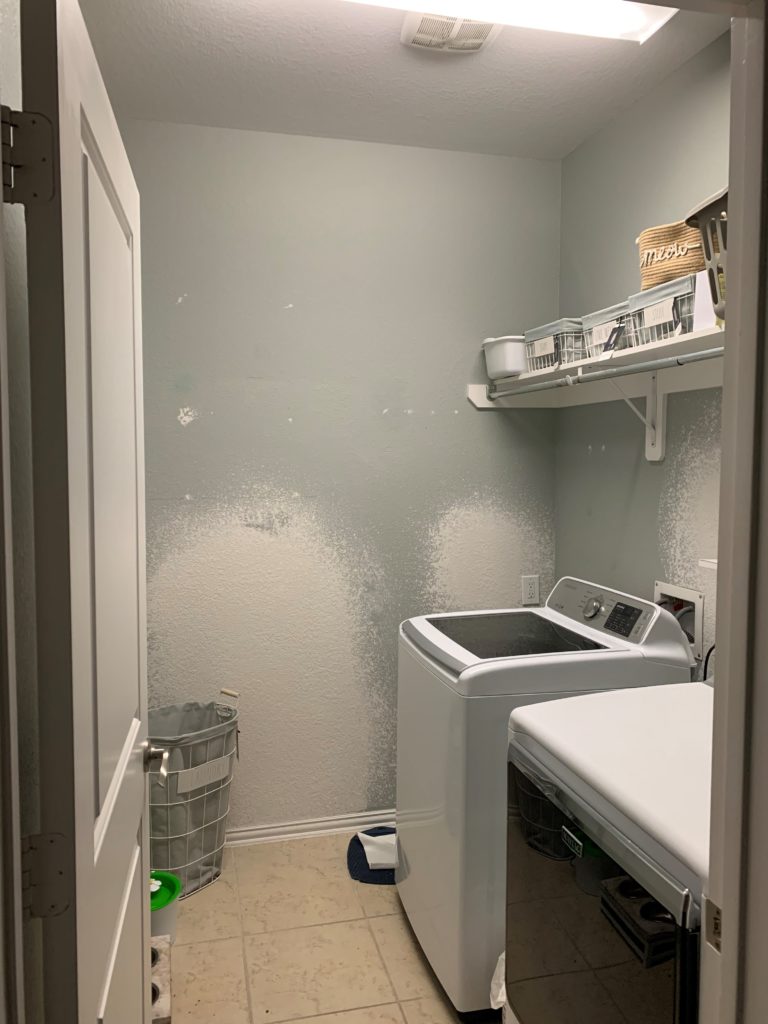
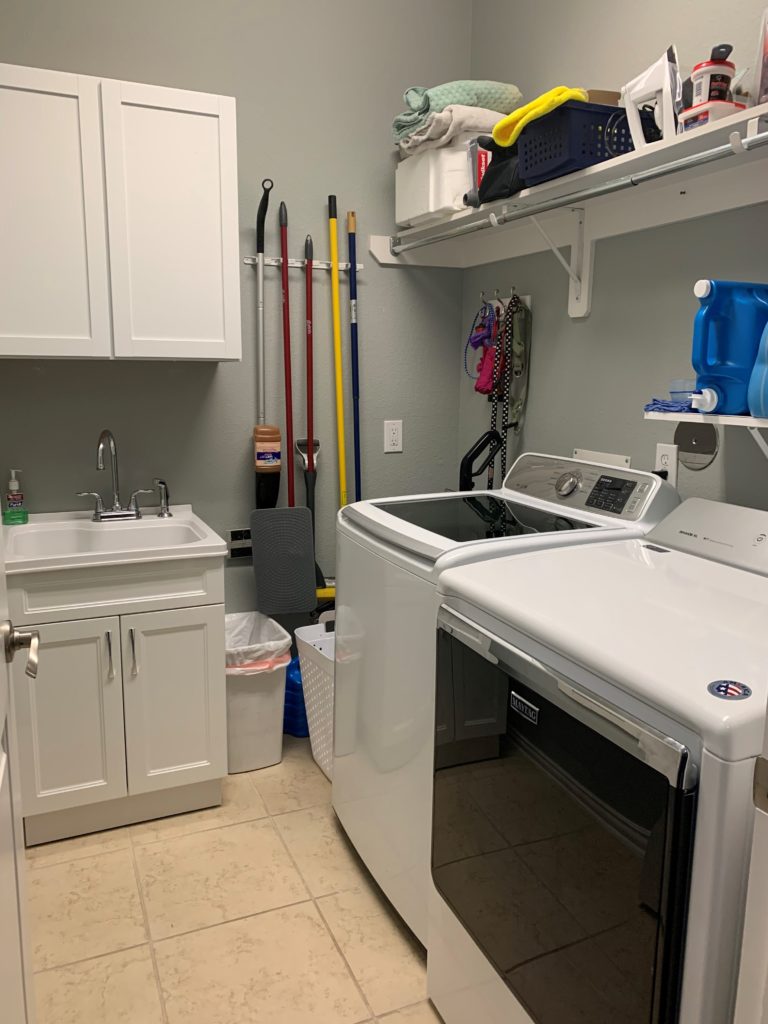
BEFORE
I’m going to share with you how to transform a small laundry room into a beautiful space that is both organized and functional.
Laundry is a never-ending chore, but a definite necessity. Everyone has it and like it or not it has to be done. I find that most people don’t enjoy it. Come to think of it, I have never met or known anyone that has ever told me they enjoy doing laundry! If we’re going to be spending time on a regular basis doing something we don’t enjoy, shouldn’t we should at least be doing it in a space that we do enjoy being in? My answer is yes!
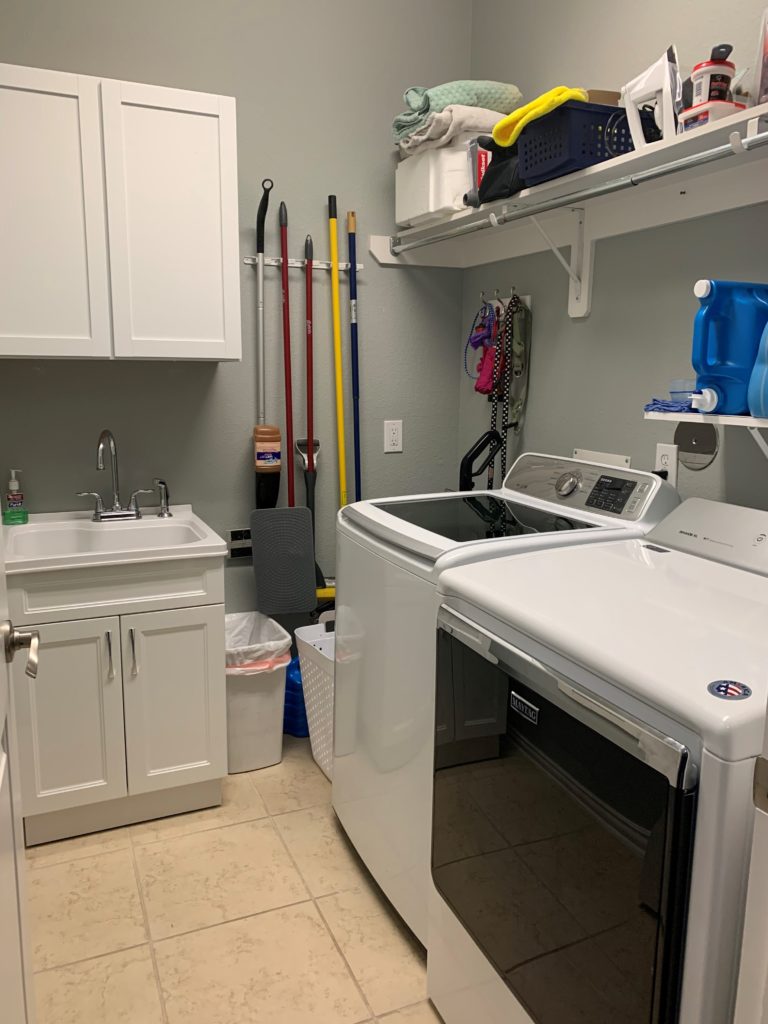
I really love our home, but when we first bought it, I did not love our laundry room. Since our laundry room is easily seen when entering the home, I wanted the space to match the beauty of the rest of my home. Moreover, it is a small space and as you can see it was not well laid out. I couldn’t understand why all the hook-ups were near the door, with an empty space in the rear corner. Additionally, the sink felt out of place and was competing with the usable space.
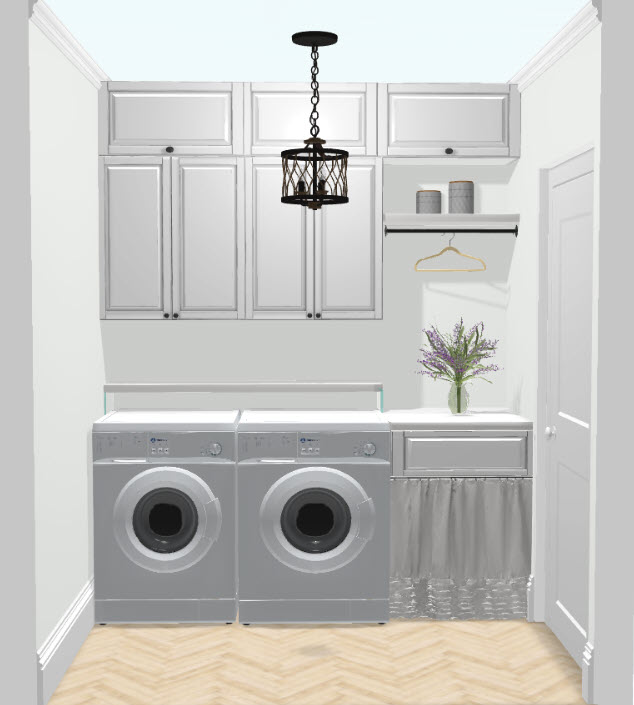
DESIGN LAYOUT:
Sometimes when I am designing spaces, I create a 3D rendering of the space. This is good for layout purposes and for sharing my vision with my contractor. Originally, I was going to have a curtain under the countertop to give the space a little character, but I later decided I wanted cabinet doors installed to create a simple and uncluttered look.
REMOVAL:
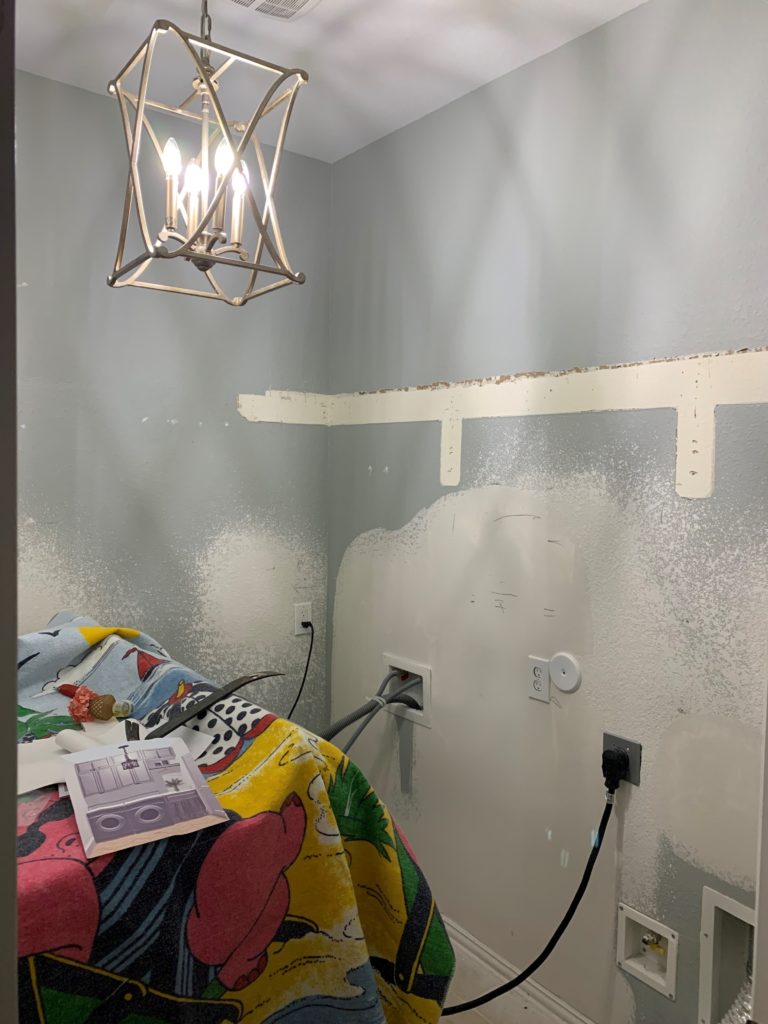
The first step in prepping the laundry room was to remove the sink, cap the lines and repair the drywall. I didn’t want to get rid of the sink completely, because I use it a lot for rinsing materials or hand washing delicate laundry. Luckily, I was able to repurpose the sink into the garage, as it is very near the laundry room.
LIGHTING:
I can never understand why a builder would install fluorescent lighting inside a home! Obviously, proper lighting is essential in any space. However, decorative lighting gives a room character, dimension and a theme to the space. As you can see the lighting has already been replaced. Normally this would have been done later in the job. However, I had the electrician at my home replacing another light and it was easier to have this one installed while he was over.
PLUMBING & ELECTRICAL:
I didn’t want the washing machine pipes or outlets exposed, so I decided to have them relocated. The plumbing, clean-out and electrical outlets were moved down and over towards the rear of the laundry room. I had hoped to move the dryer exhaust over as well, but the way our home is built, it would have added on quite a big expense that seemed more complicated than it was worth. I’ll show you later how I worked around this.
CABINETRY:
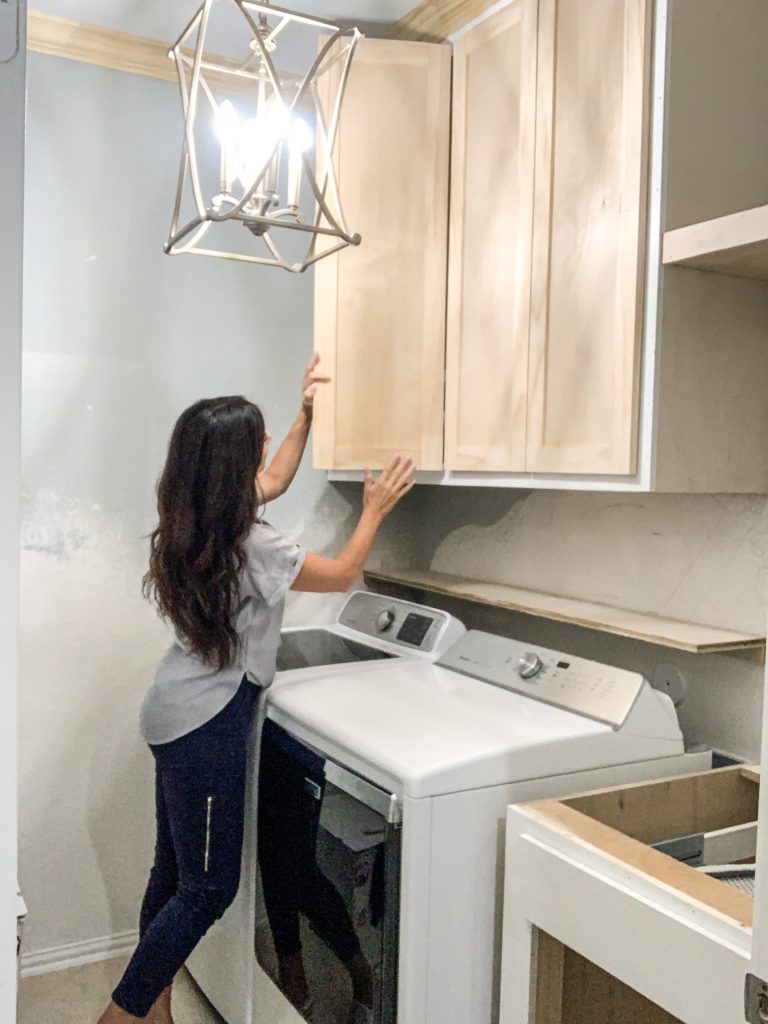
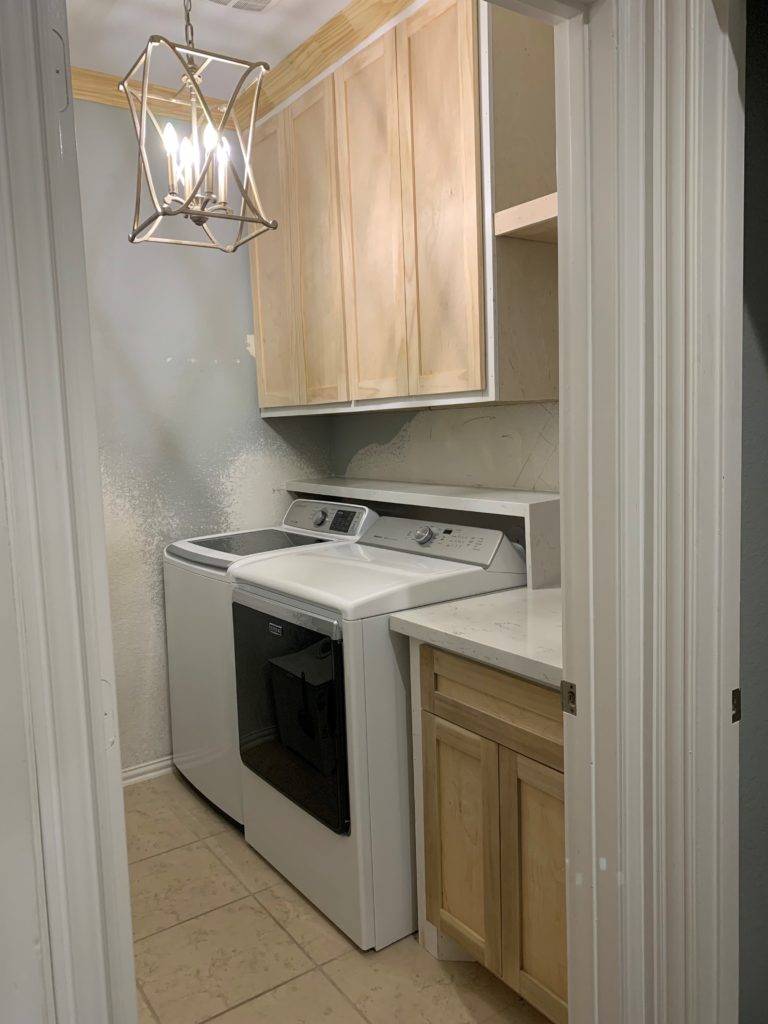
The laundry room is starting to take shape with the cabinets being built and installed on-site. Although the ceilings are quite high in the room, I decided not to add a second upper cabinet. Instead, the cabinets were built to extend all the way to the ceiling. Yes, I still need a ladder to reach the top shelf (and no I’m not short LOL), but with this layout it gives the room a nice, clean look.
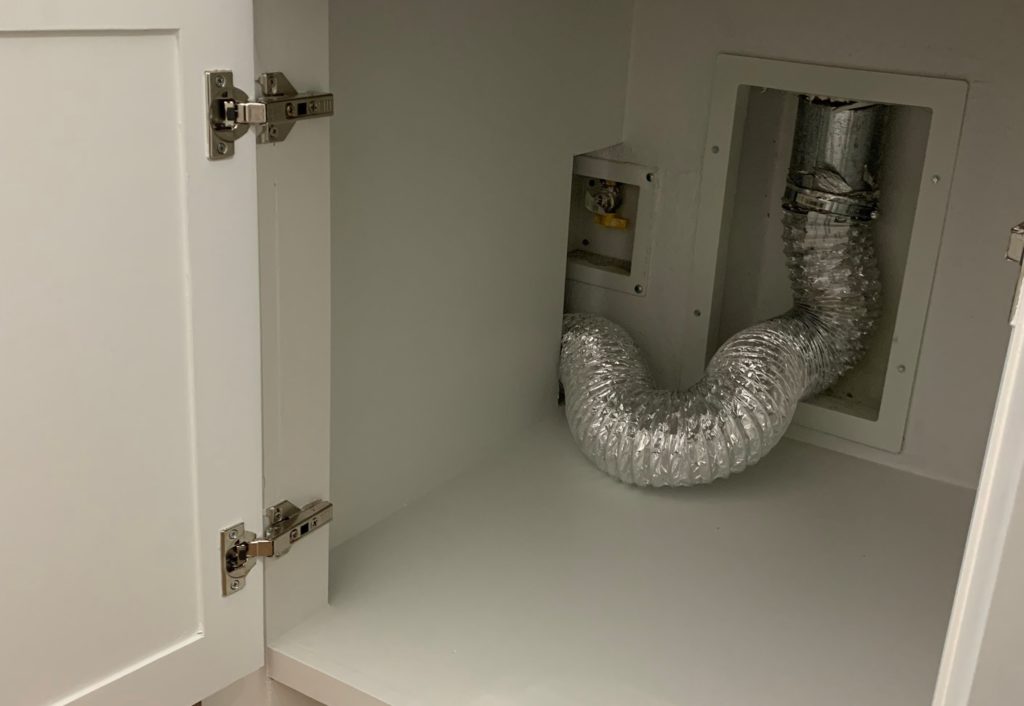
This is how I managed to move my dryer down without having to spend extra money to relocate the dryer exhaust. A cutout was simply made in the rear of the cabinet to allow the exhaust pipe to stay connected in its original position.
COUNTERTOPS:
I had the option to install a sink in the cabinet, but I decided against it as I really needed a solid countertop space in the laundry room. I chose a white quartz countertop with light veining to keep the space light and airy.
BACKSPLASH/WALL TILE:
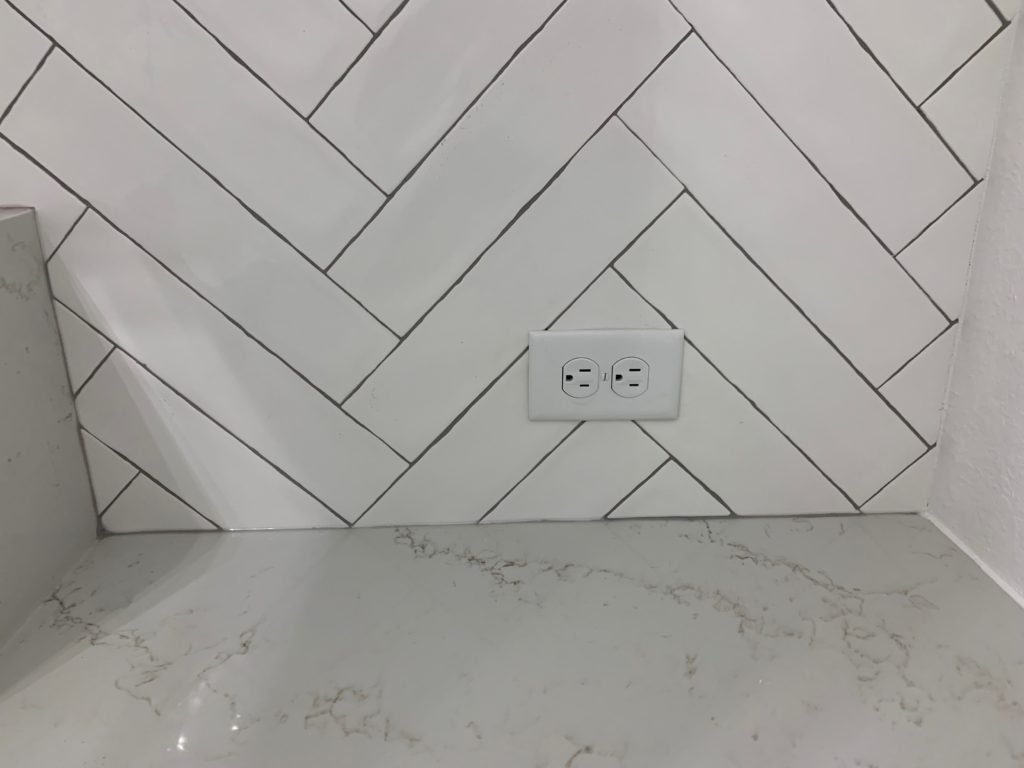
We are nearing the finish line now, with the tile installed on the wall in a herringbone pattern. I wanted the texture of the tile and the lines to pop, so I chose a darker grout called Timberwolf and it looks amazing!!!

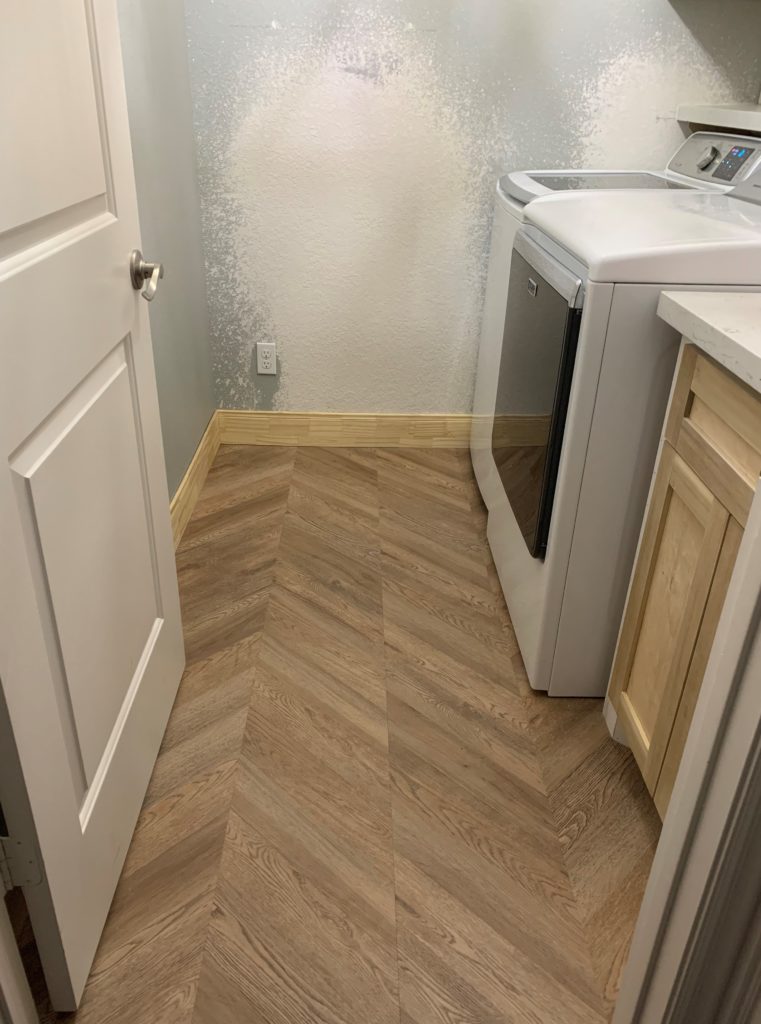
WRONG 
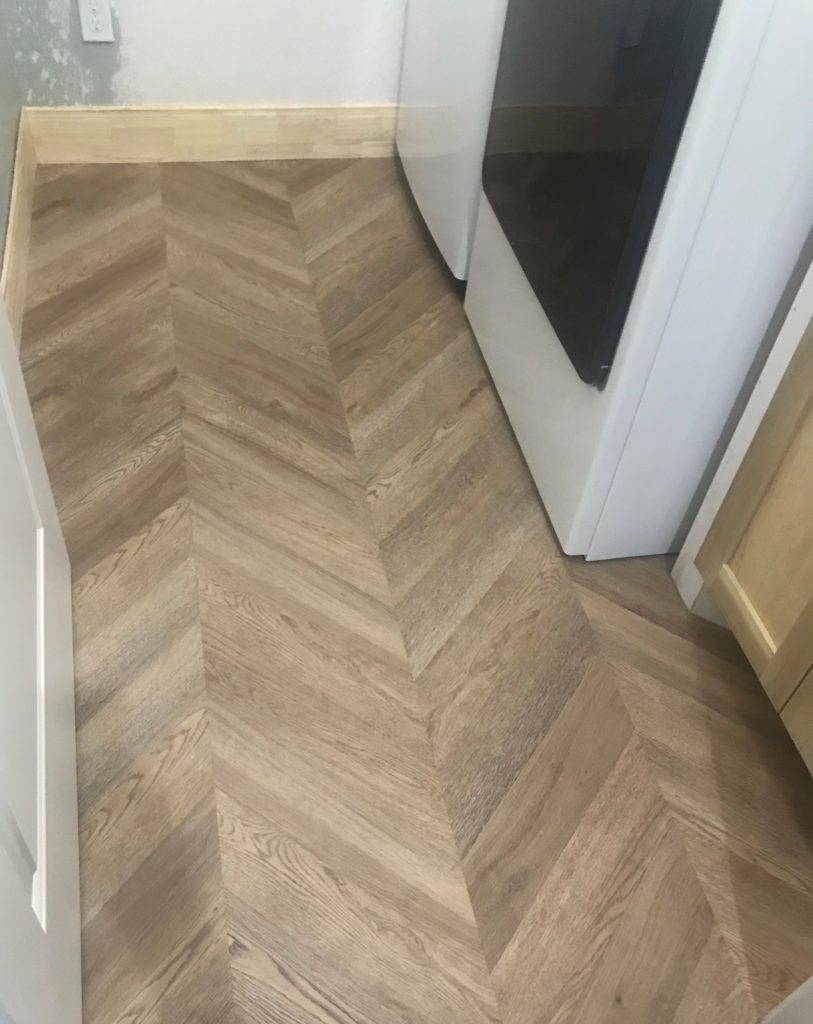
CORRECT
FLOORING:
Originally, I had planned on stencil painting the tiles, but decided against it for a few reasons. The first reason was that I was concerned about scratches being made by moving the washer and dryer and my second reason was that I worried if I ever had a water leak, it might damage the painted floors. I considered tearing out the tile and replacing it with a decorative/updated tile, but to keep my expenses down I decided to cover the existing tile with LVP (Luxury Vinyl Plank Flooring). Unfortunately, as you may notice in the left photo above, the flooring was originally laid incorrectly. Thankfully, it was an easy fix and it has been re-done properly with the herringbone pattern properly aligned as shown in the photo to the right. Note: these photos were taken with my phone and my husbands, which is why there is a discrepancy in the color of the flooring. The image on the left is more true to color.
PAINT:
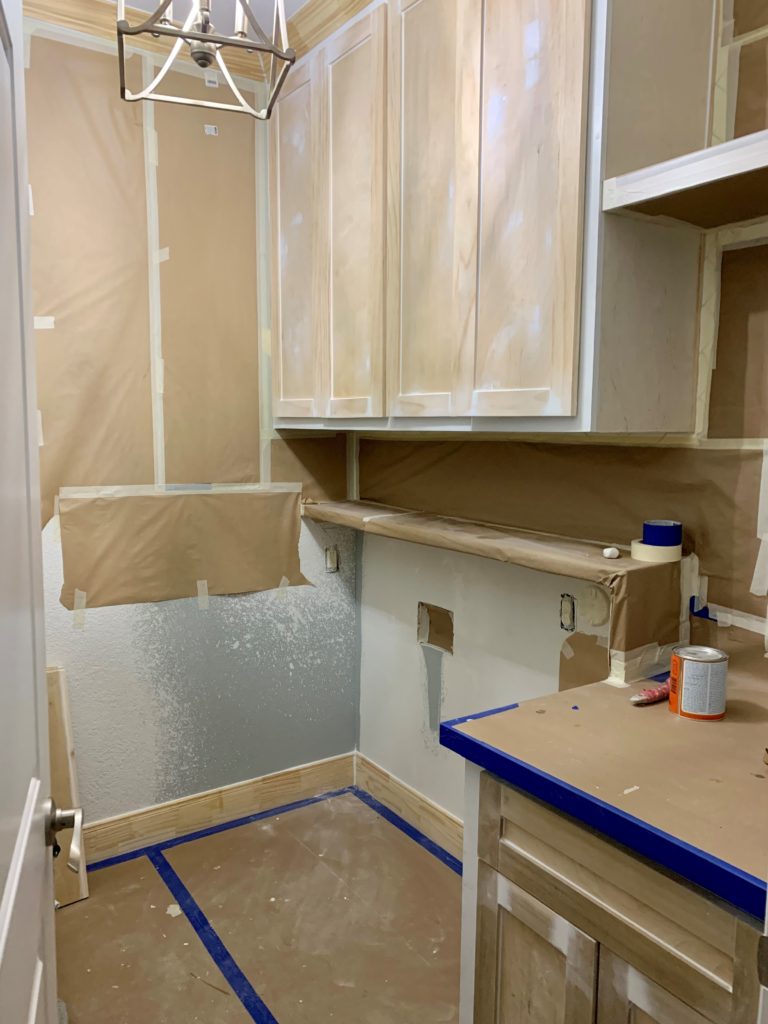
Time to paint those cabinets and walls! If you recall from the before photo, the laundry room visually was a cluttered mess. Naturally, I wanted it to look organized and clean, so I decided to go all white. By brightening the paint color, it made my small laundry room look much more spacious. The cabinets were painted in Extra White by Sherwin Williams SW 7006 and the walls were painted in Decorator’s White by Benjamin Moore OC-149.
HARDWARE:
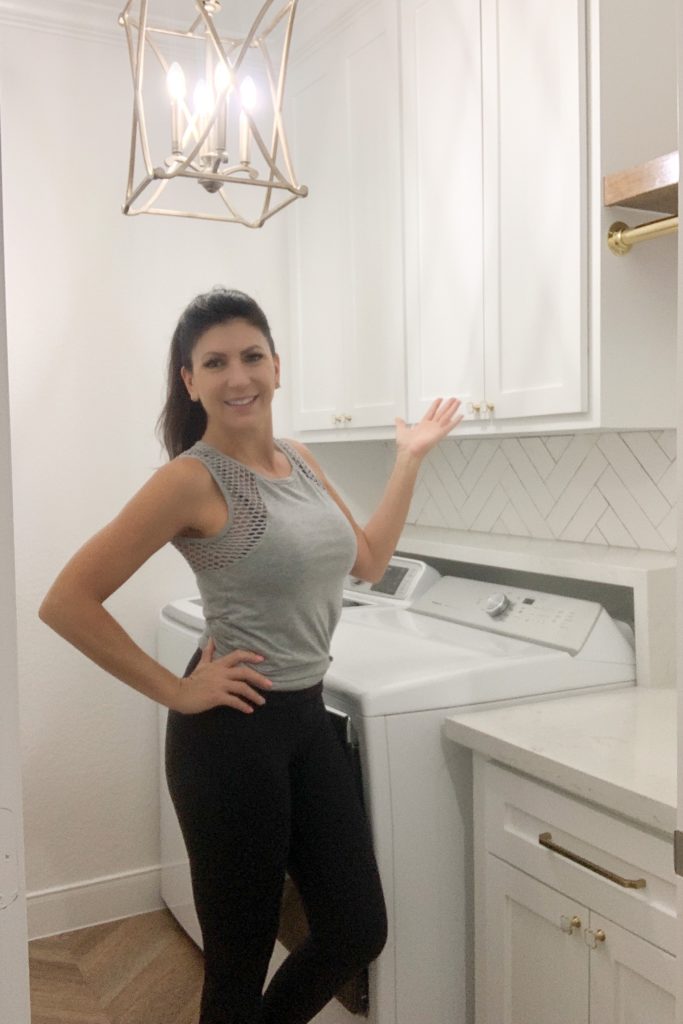
YAY, my farmhouse laundry room is complete! The hardware has been done and the room is ready to be accessorized!
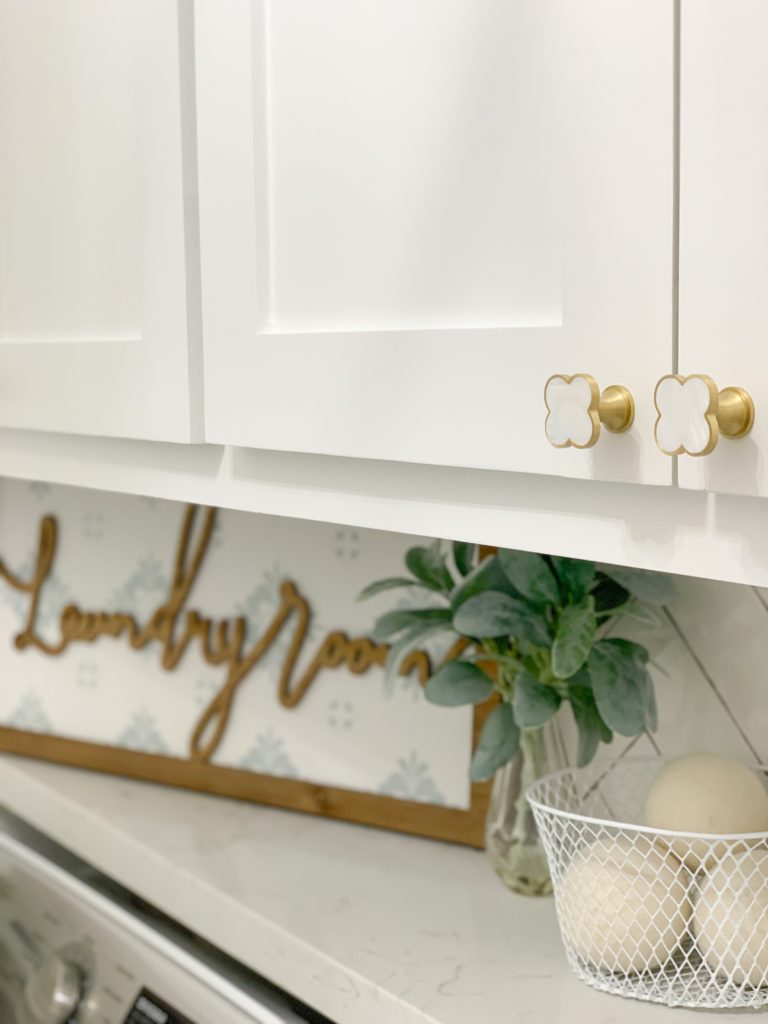
I am in love with these gold clover shaped door pulls with white shell inserts! They are so pretty!!!
ACCESSORIES:
The final step to any room makeover is to accessorize. You can add a variety of fun accessories to a laundry room, such as organization baskets, a coat rack, signs, jars, hangers, etc.
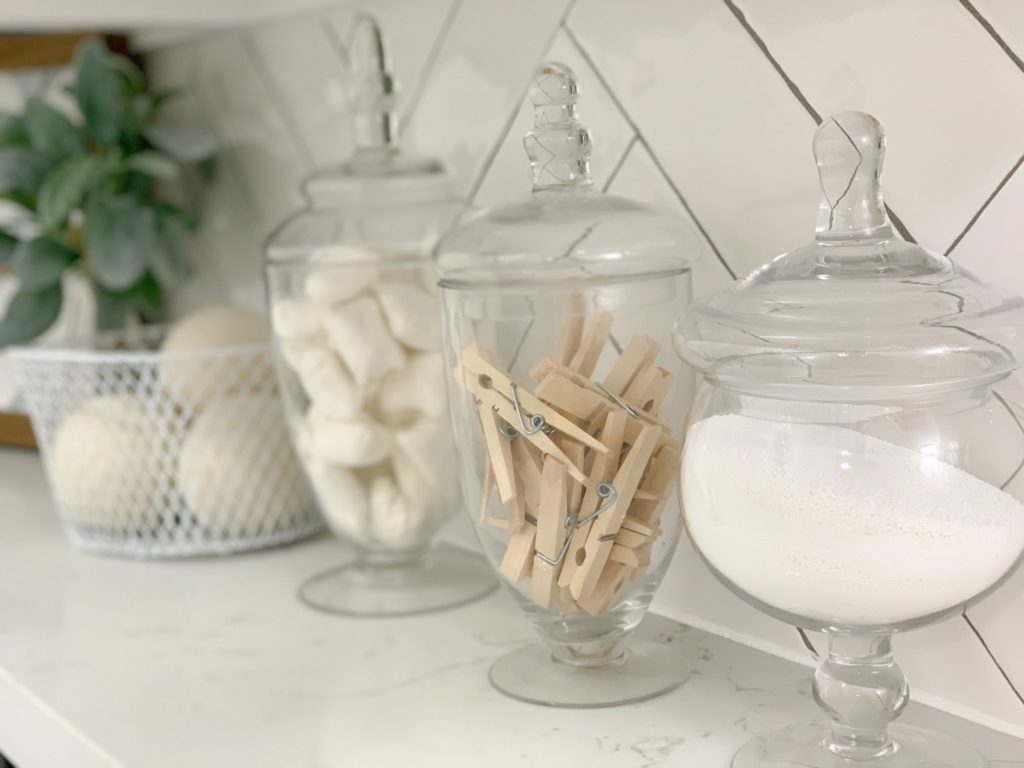
I love these little apothecary jars for creating cute little laundry room displays. They’re also a nice alternative to having packaged product sitting around the laundry room. Subtle changes like this make a small laundry room look so much cleaner and prettier!
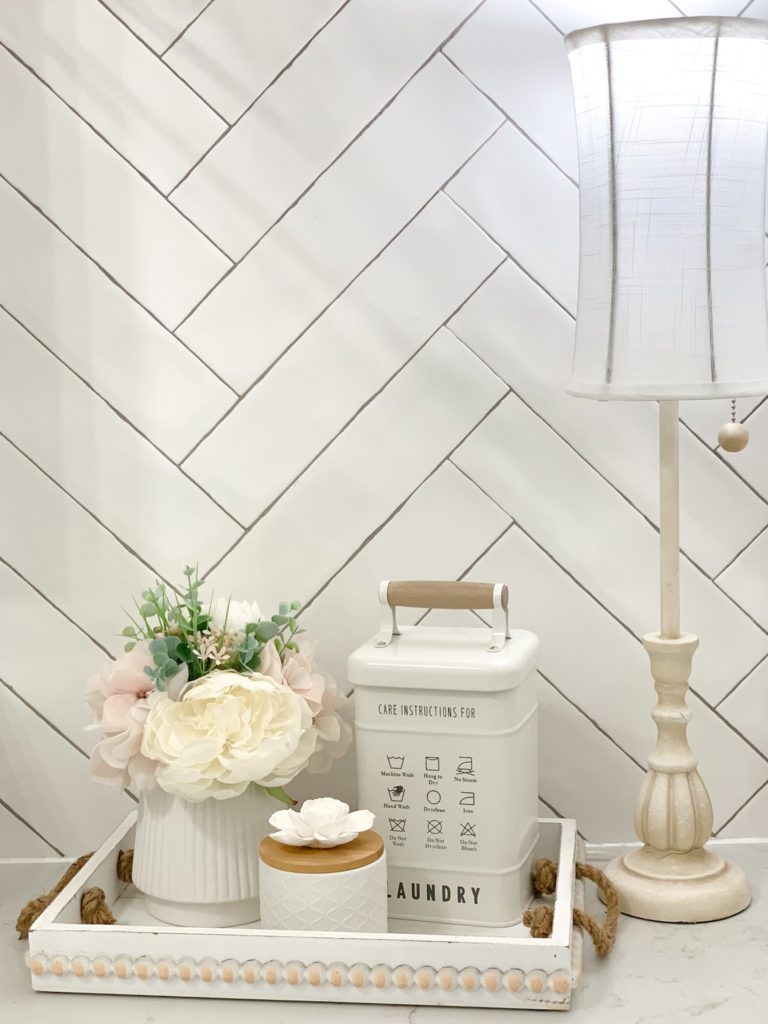
Adding a tray with accessories is always a winner. Be sure to create variety with height and shapes. Typically, you’ll want to add accessories to your tray in odd numbers.
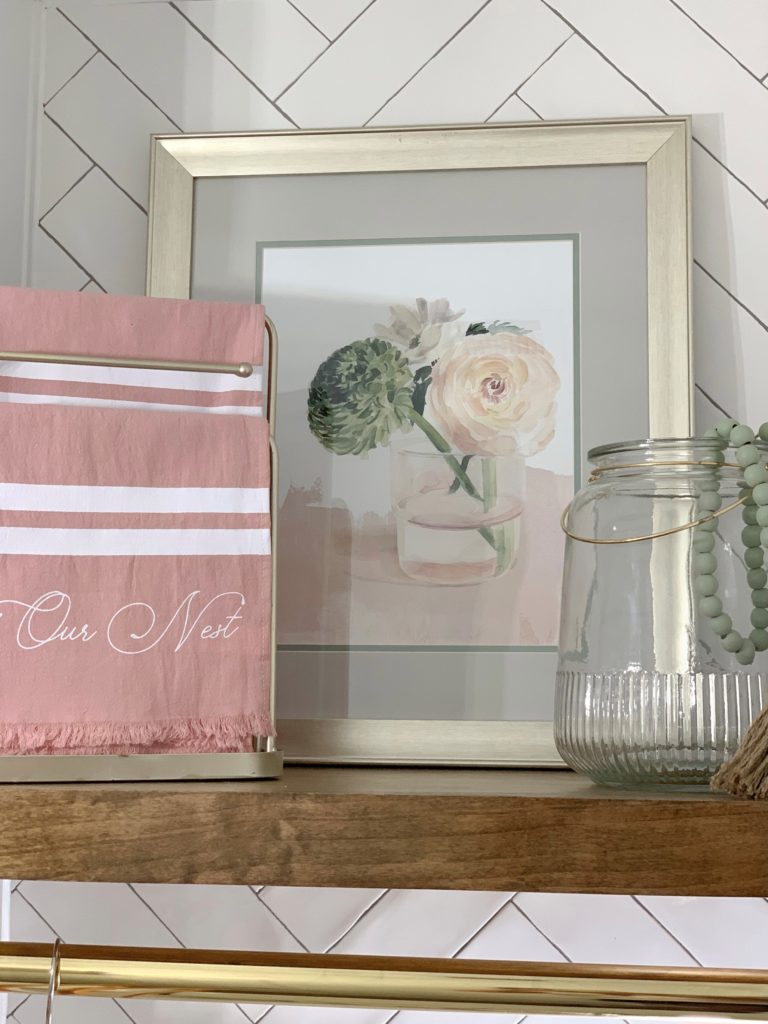
I added tones of blush pink and sage to keep in the same color scheme as the rest of my home. Did you know that accessories that have messages written on them create an emotional connection to a space within your home? I once owned a home staging company and an important part of our staged homes was to create emotional connections with potential buyers by using interior decorating techniques. You can read more about this in my Instagram post.
CONCLUSION:
I hope viewing this step-by-step transformation has inspired you to create a beautiful space to do the not-so-fun chore of laundry. With a little paint and décor, you can love your laundry room again and perhaps in doing so, you may even find that you’ll also love laundry day.
If the link is not found in this blog for an item you’re looking for, it may be in my LikeToKnowIt post.
Sep 29, 2021
How I Updated My Small Laundry Room
Leave a Reply Cancel reply
copyright © 2021 Roxy Home Living - home decor inspiration, Diy & blog
- all rights reserved -
Beautiful result- very classy!
Thank you! It was a long process, but definitely worth the wait!!!