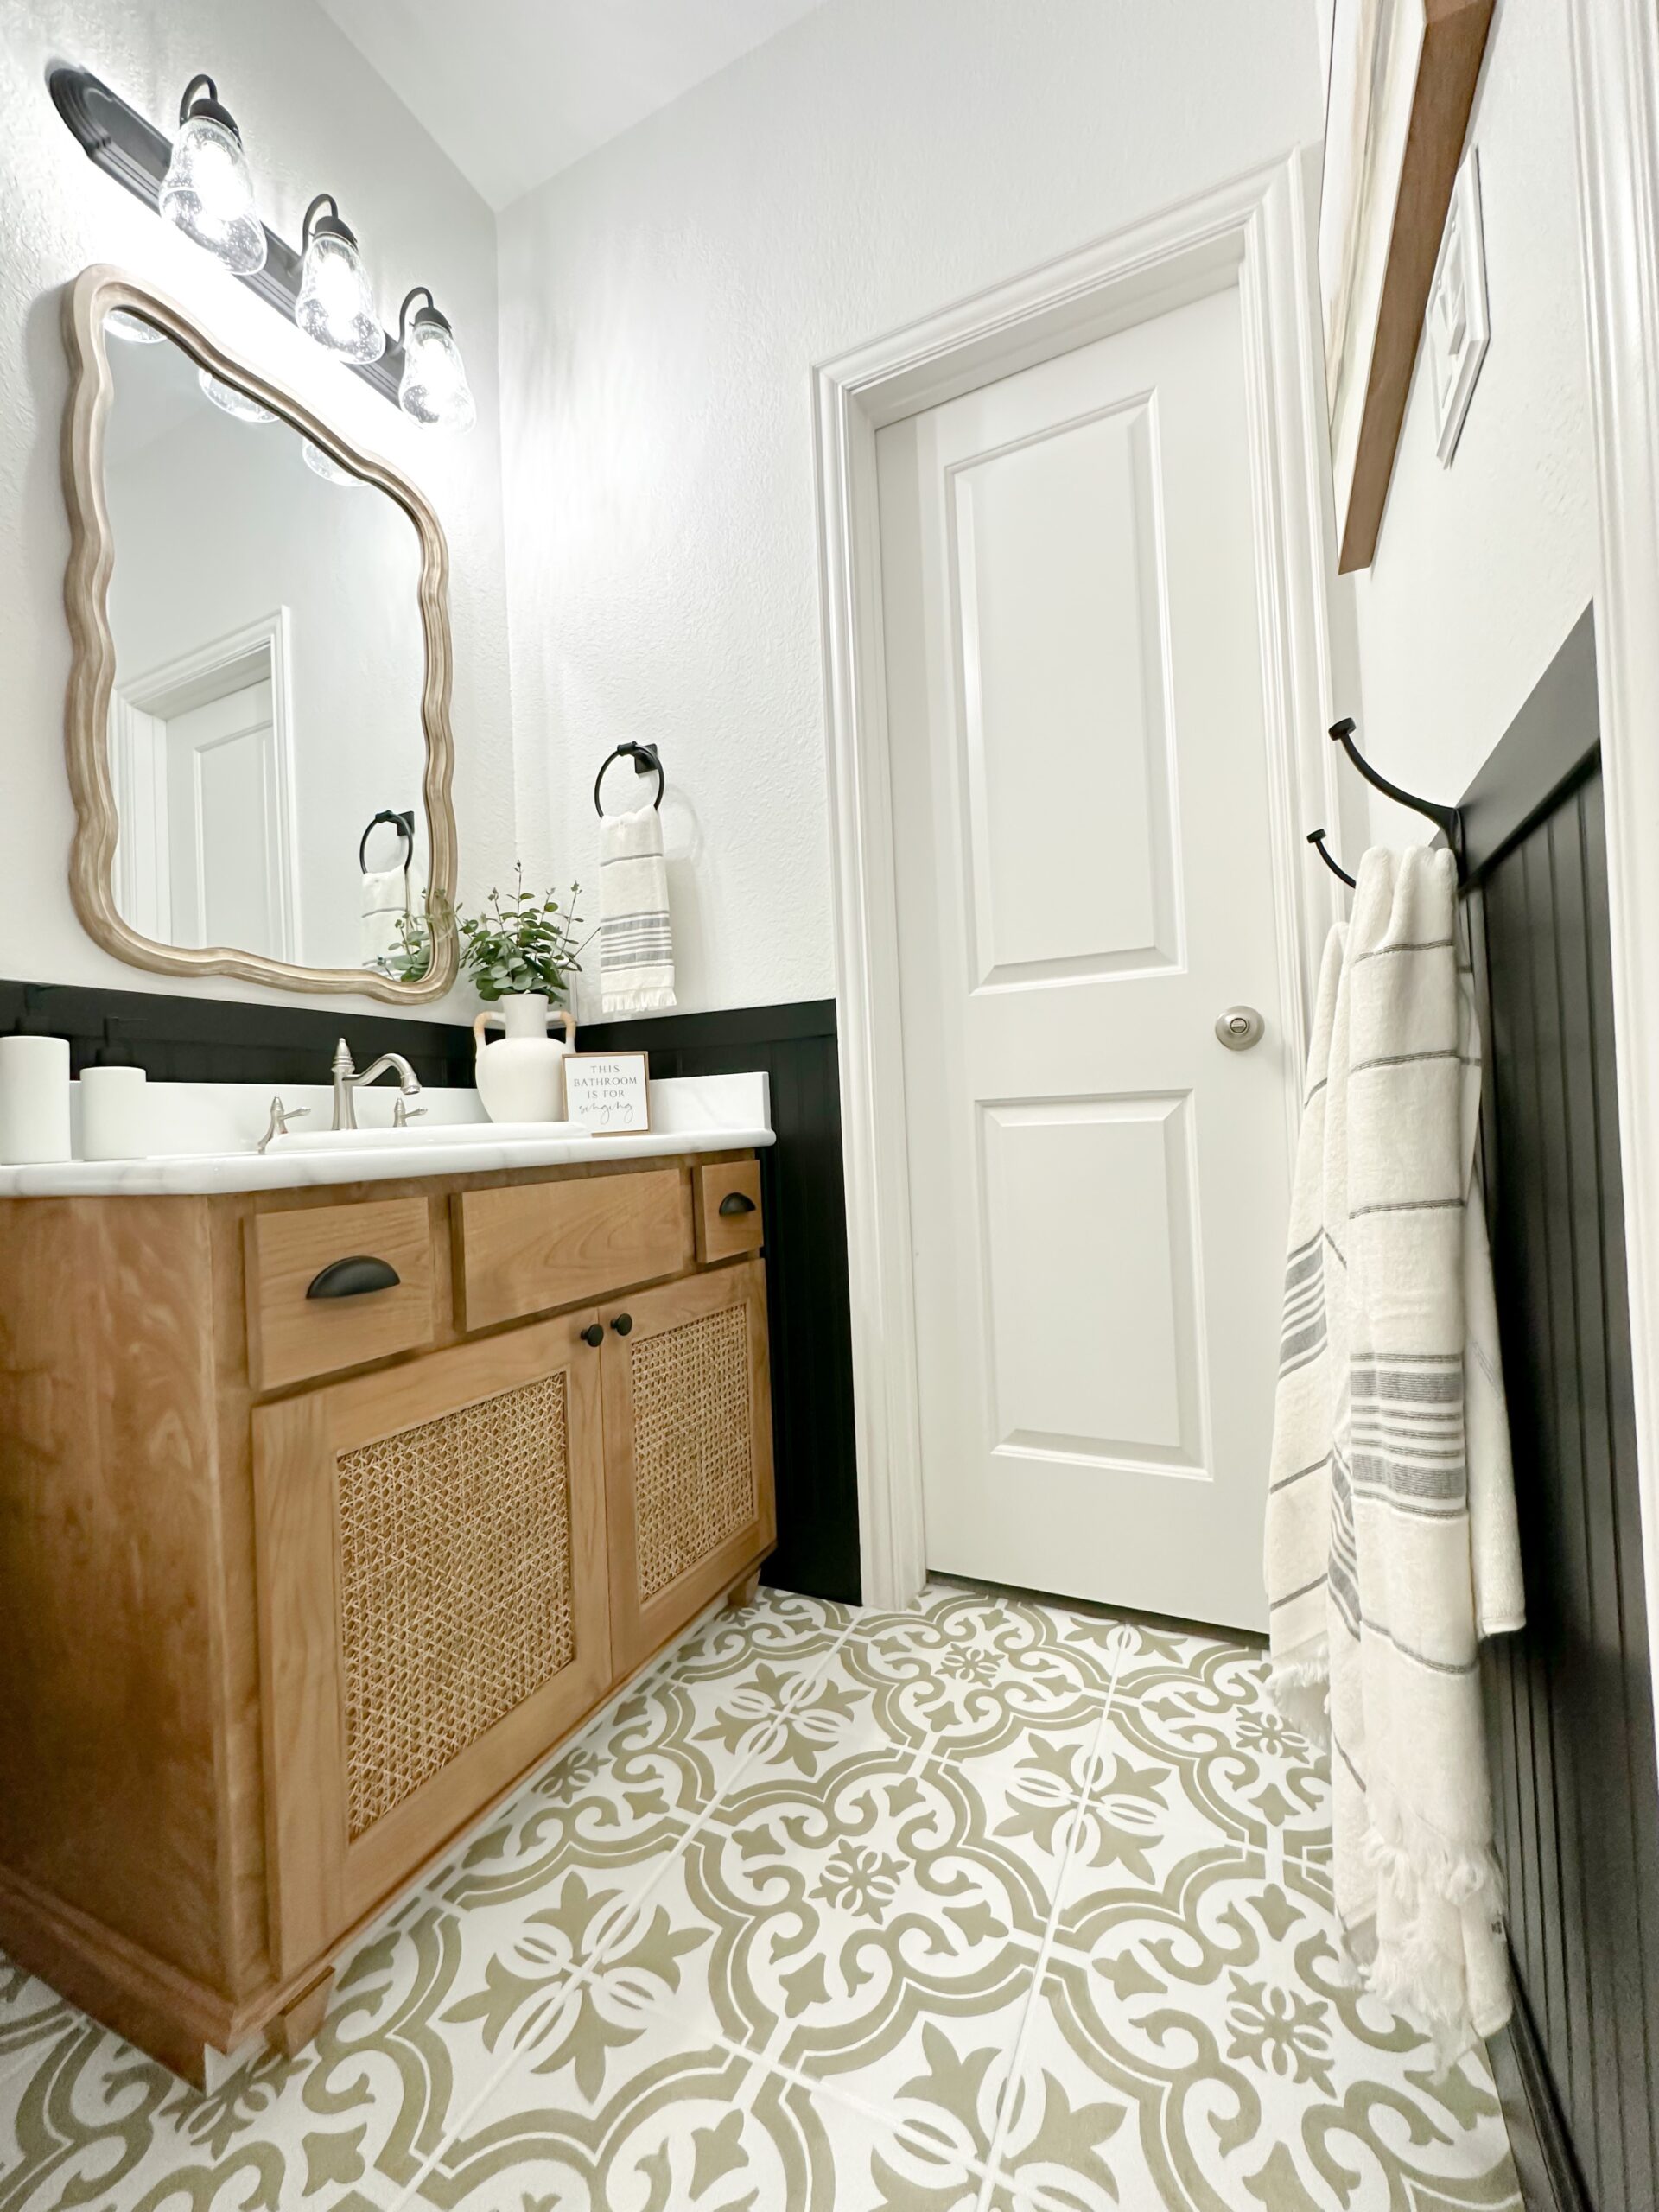
Crafty Influencer transforms her dated bathroom vanity cabinet into an awe inspired designer buy
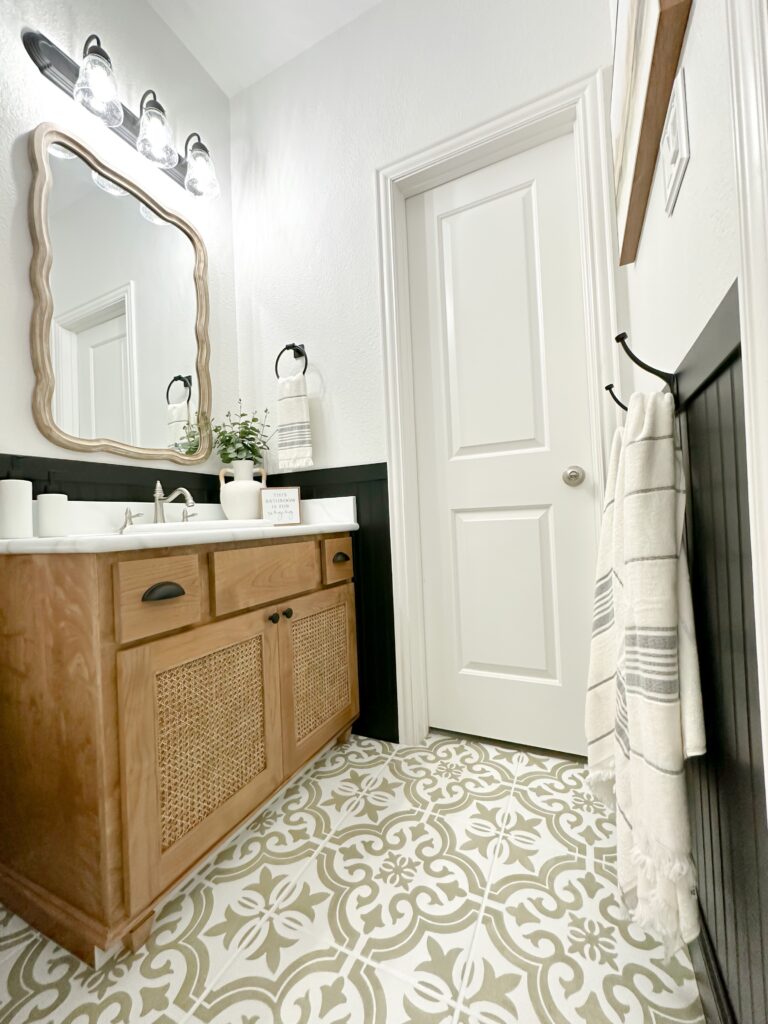
What I had versus the look of what I wanted!
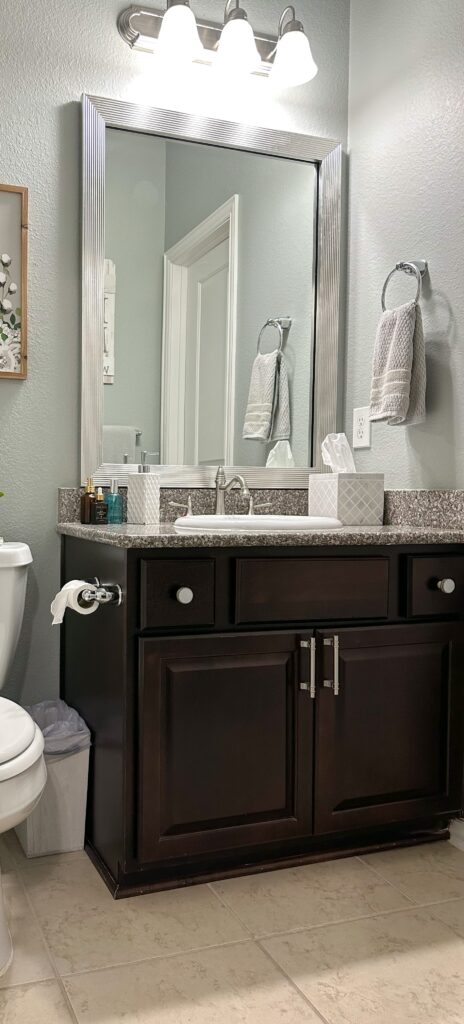
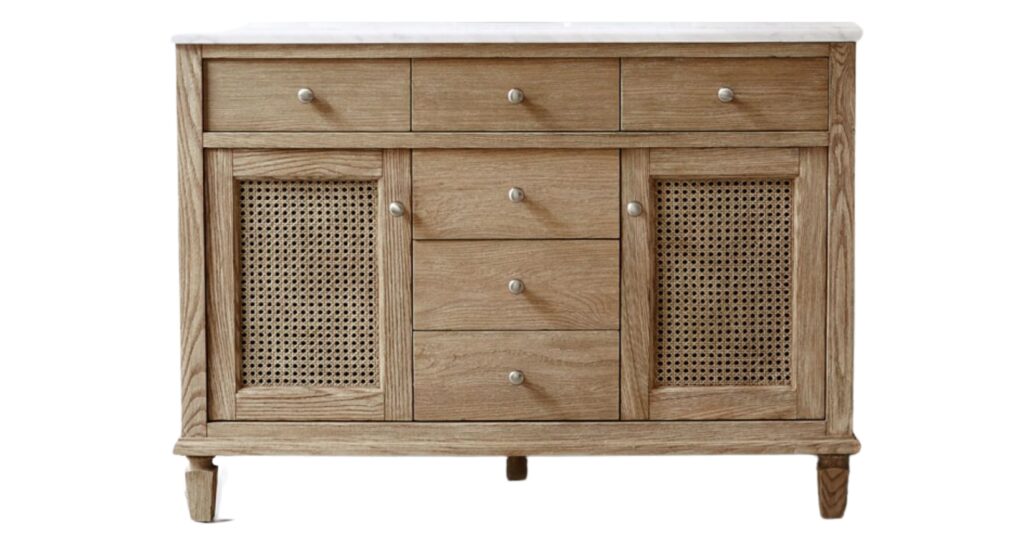
I have been wanting to update my guest bathroom for quite some time, but did not want a hefty price tag to go with it. I knew I wanted to mix natural wood tones with black and green colors and so the design search began! After many hours searching online to try to find a replacement vanity for my very dark stained bathroom vanity, I found the exact vanity that I wanted! Unfortunately, it was way over my budget and in my opinion way overpriced! The vanity I wanted retails for $3,299 and that did not even include tax, shipping and delivery!
“One of the most satisfying moments in the DIY world is to dupe a very expensive piece from a high end retailer!“
After carefully studying every angle of the retailers version, I crafted the perfect plan! My first thought was to wrap the doors somehow to create shaker style doors. No matter how much I looked and planned, the depth of the doors would have just become too thick. I decided to take that off my plate and ordered the Alder Select shaker style doors and drawer fronts. Another option would have been to purchase the shaker door open frames, but I did not want the contents of my bathroom cabinets to be seen…unlike the retailers version, which shows everything!
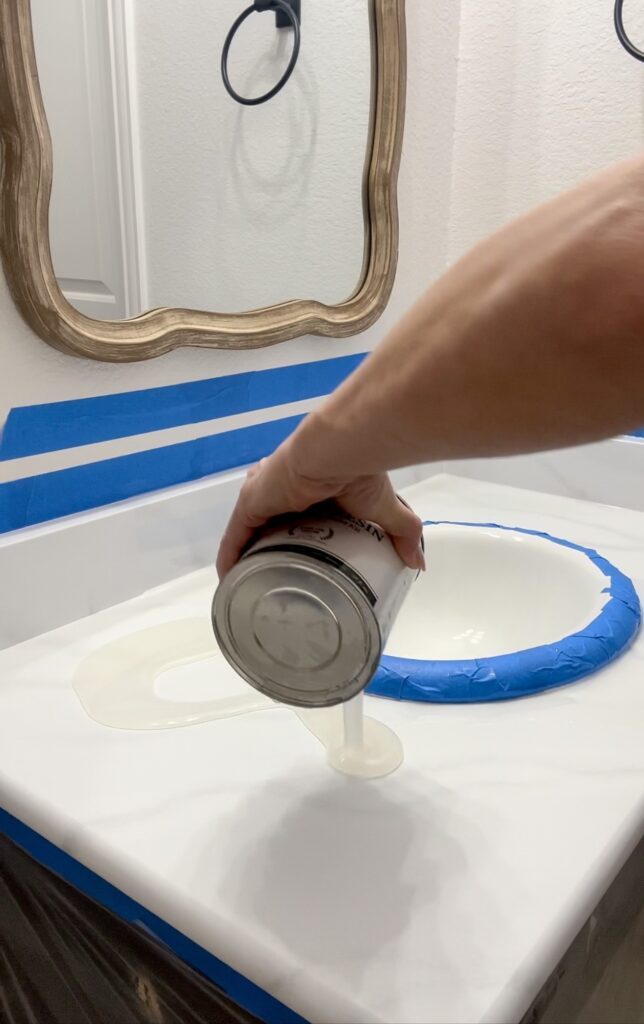
First Step
The first step to starting this project, was to work from the top down. I wanted the same marble countertop look and so I decided to use the Giani Carrara White Marble Epoxy Kit. I had previously used this kit in another DIY bathroom and knew it would save me a lot of money. I was familiar with the process and so this step was relatively easy. *Please note my apologies for the fuzzy pics, as I had to pull these from my video footage.
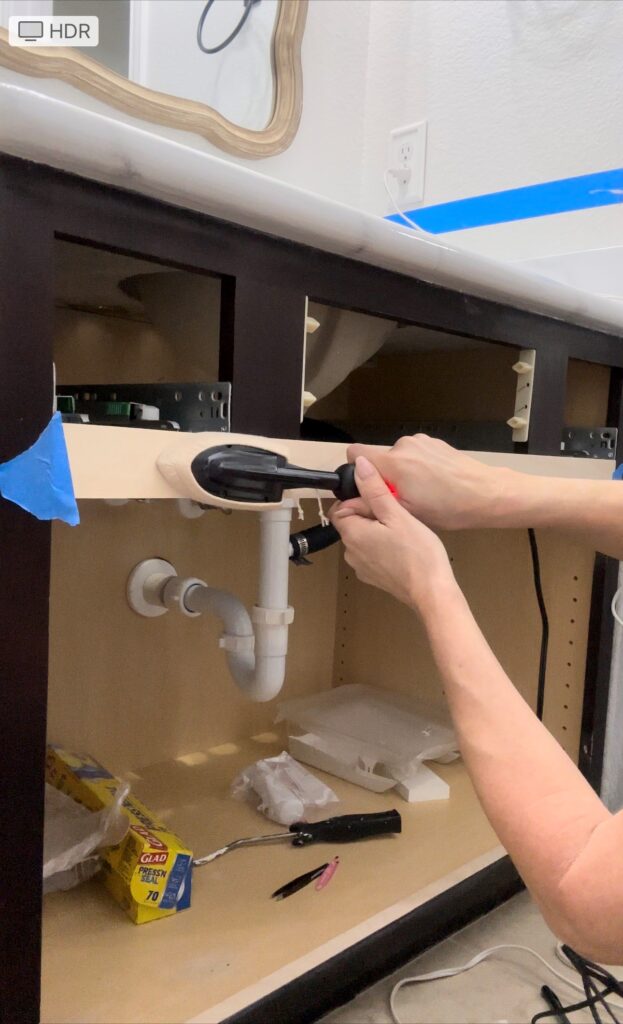
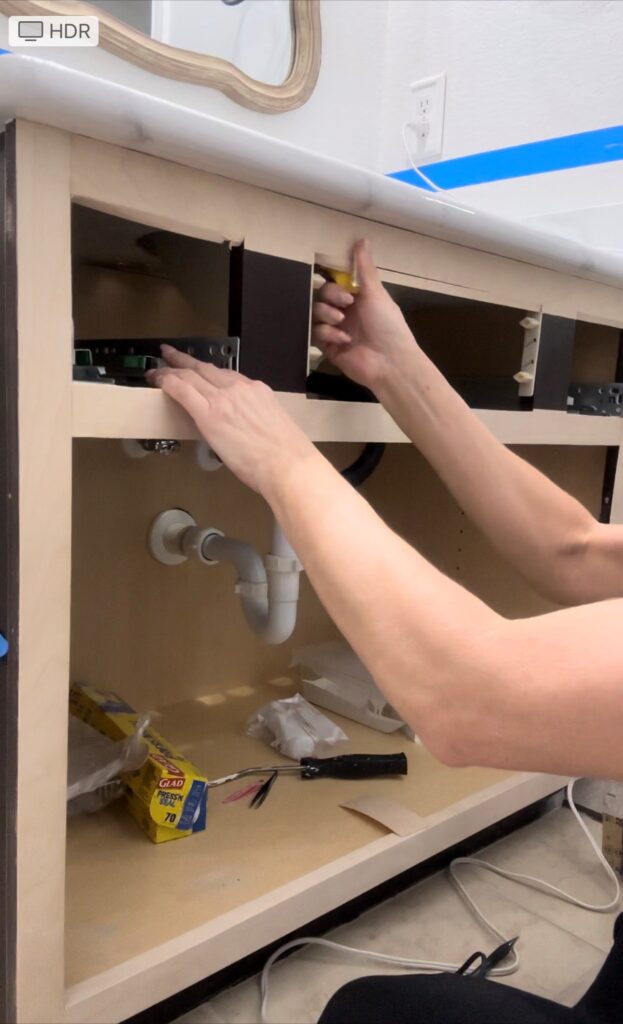
Starting the Re-Facing Process
I was so happy to have found this Pre-Glued, Stainable Wood Veneer Edge Banding that I could use to reface the front of my cabinet. I worked in sections, starting in the middle, then doing the upper and lower sections, before adding the right and left pieces. Be sure to get your connection points as straight and close as possible for a seamless connection. I used this Veneer Sealing Iron to apply heat, which bonds the veneer to the cabinet. I then used this Edge Trimmer (which BTW I LOVE!!!) to trim any excess from the strip edges. It was so easy and kind of fun to use, as it literally cuts like butter, with a perfect straight finish!
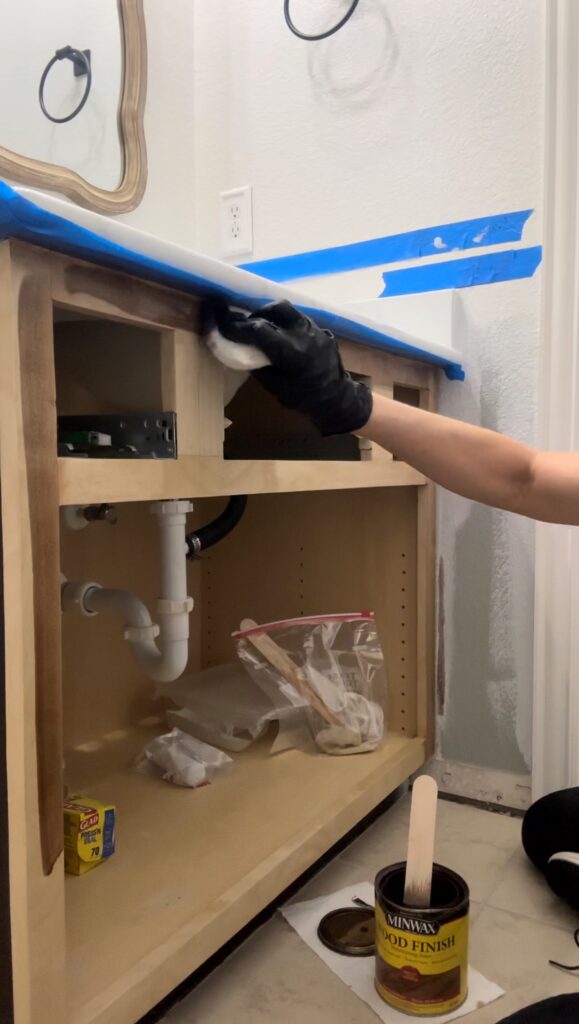
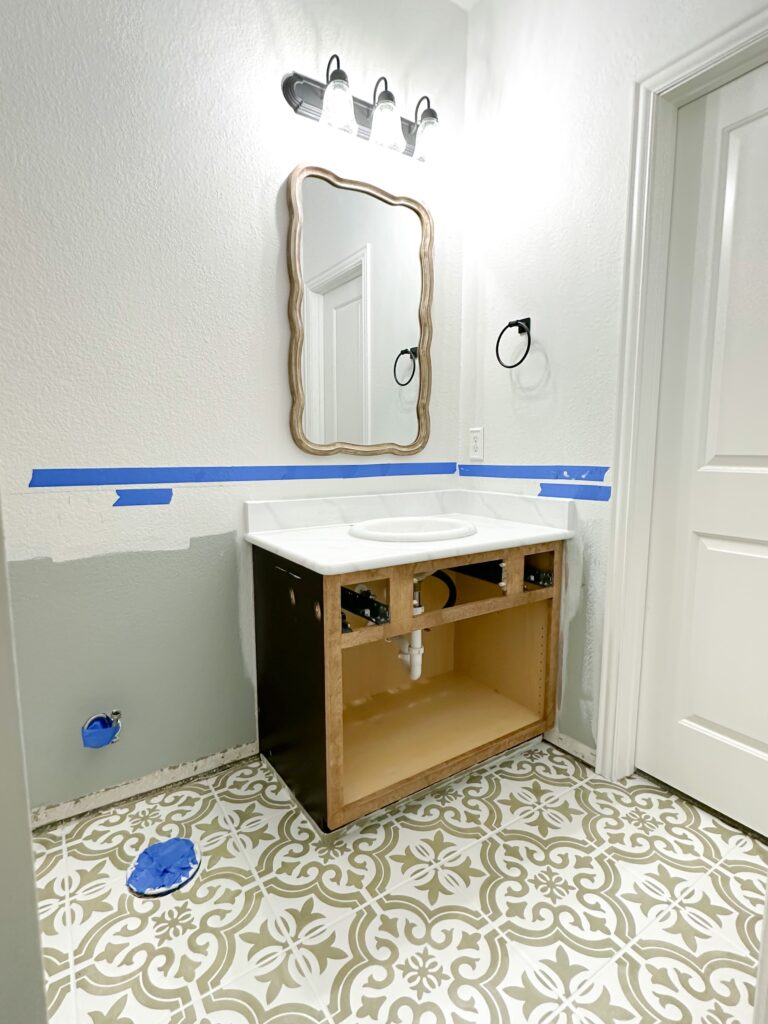
The Staining Process
Now that the face is finished I started the staining process. I first applied a Pre-Stain Wood Conditioner (which helps minimize blotchiness for an even stain application) using a Staining Pad and wearing Rubber Gloves. Next, I applied Minwax Stain in Special Walnut color using the staining pads. Obviously, the color you choose is personal preference, but I happen to really like this color, as I used it on my DIY kitchen hood and floating shelves.
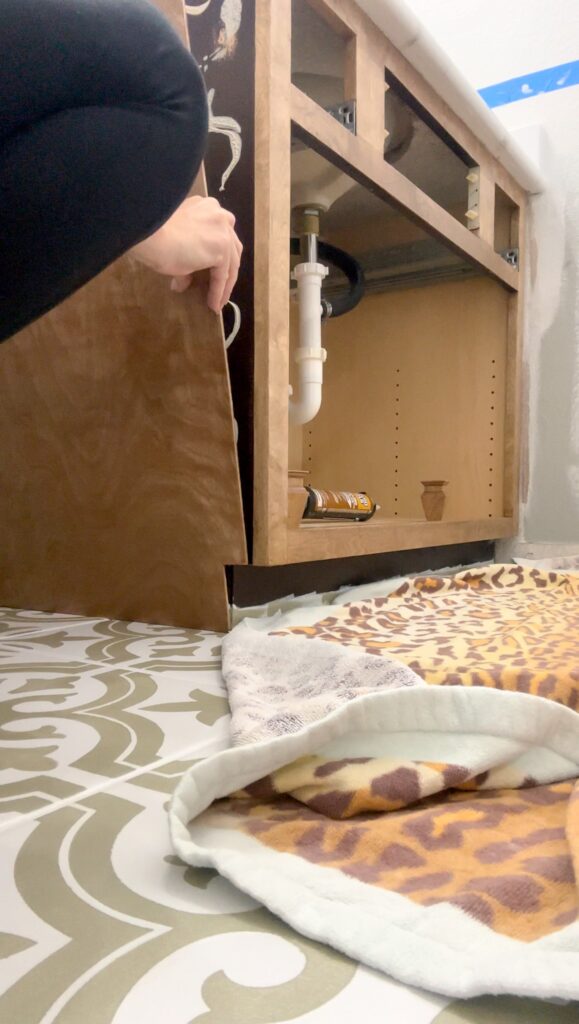
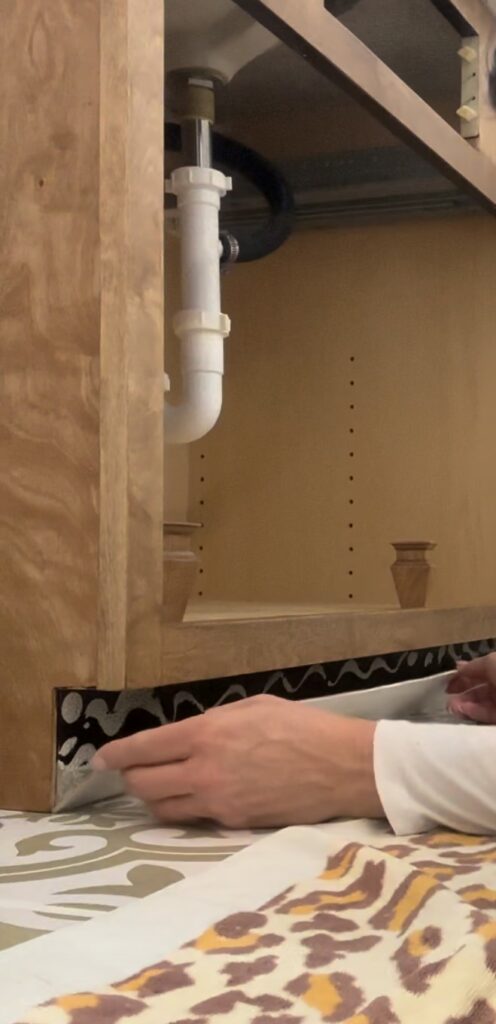
Adding Paneling
After I painted the floor tiles, I added the side panel and lower front trim, using an 1/8″ thick birch plywood panel and a Toe-Kick Panel cut to size. Before adding them to the cabinet, I stained the side panel to match and painted the lower front trim white before attaching with Liquid Nails.
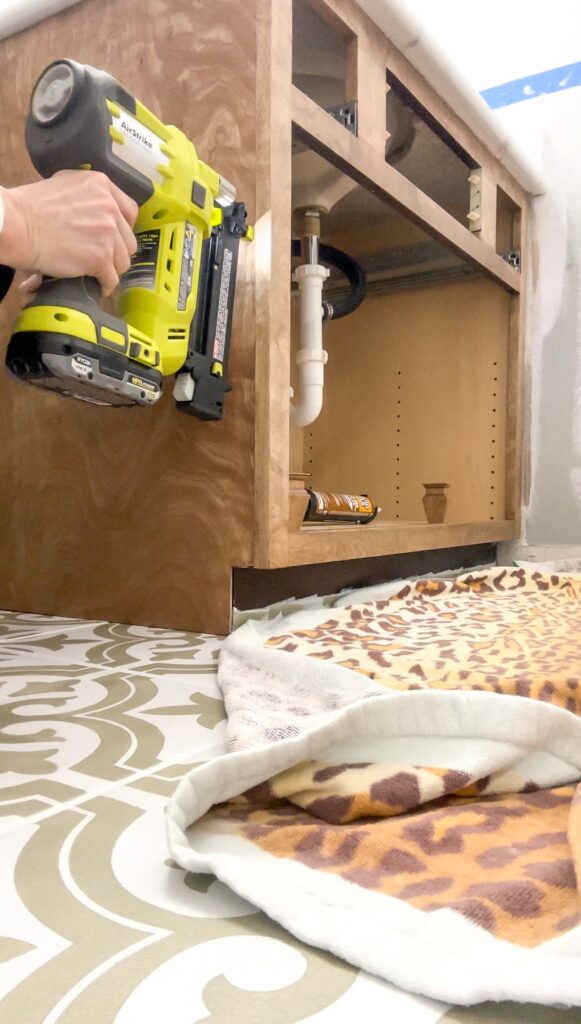
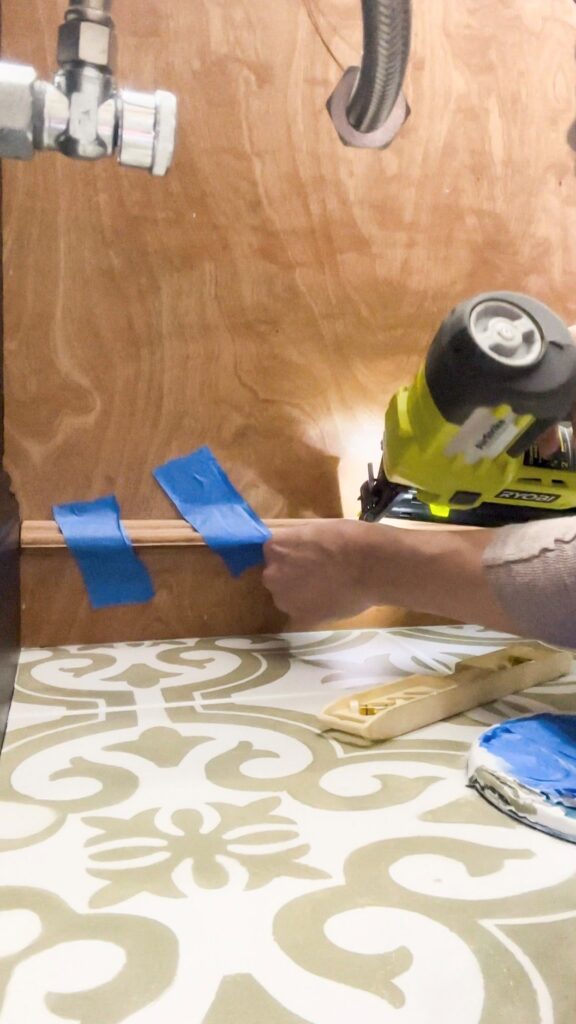
I then used my Ryobi Nail Gun (which by the way is one of my favorite tools) to secure the panel and trim to the cabinet, then filled the nail holes and veneer seams using Stainable Wood Filler. Again, another awesome product that I also used on my kitchen hood and free floating shelves!
The Finishing Touches in the Little Details
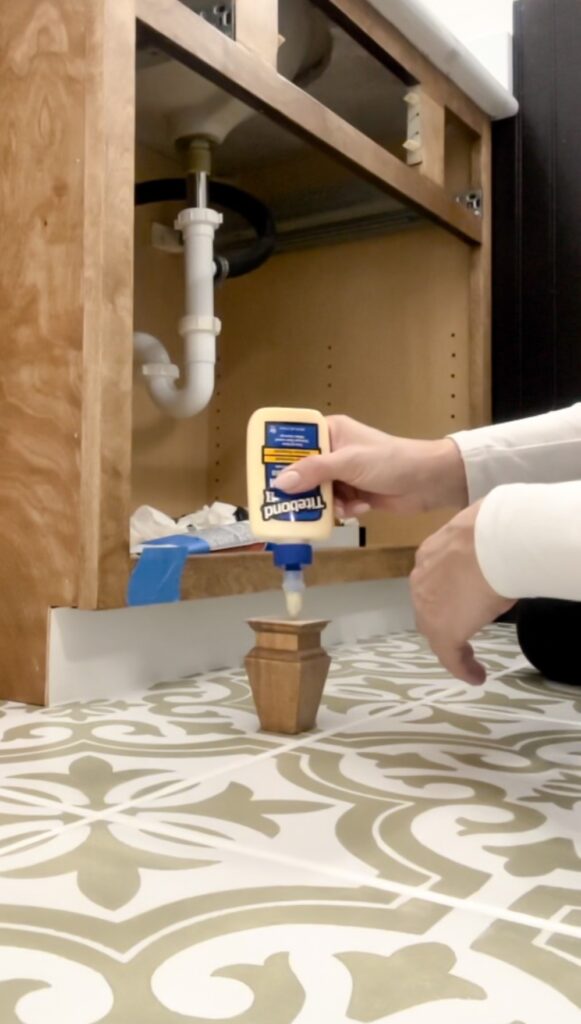
Now it was time to add some of the extra details to give it that convincing dupe look by adding a similar decorative trim to the base and cute little legs. Because I wanted the edge of the trim to protrude a little and not rest flat against the cabinetry, I used Wainscot Panel Cap Moulding. For the legs, I first sanded them down from the top to fit, added Wood Glue and then used my nail gun to secure the legs into place through the bottom of the inside of the cabinet and into the tops of the legs. Alternatively, you could use liquid nails to secure the legs, if you don’t want to use nails inside your cabinet.
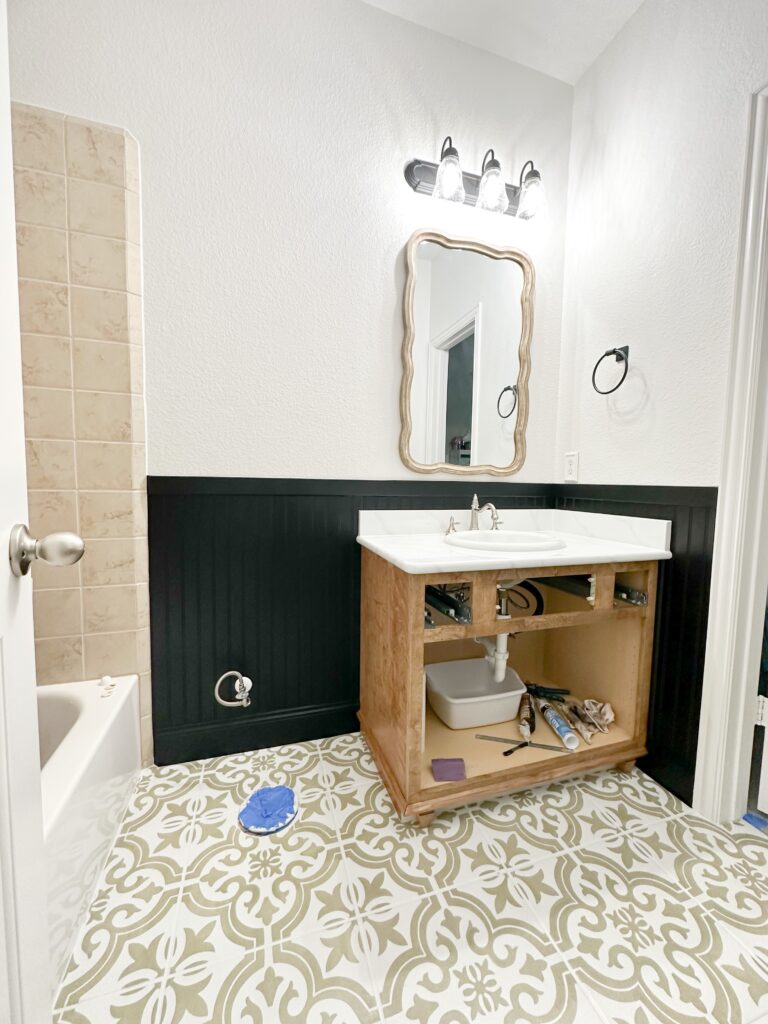
The bathroom makeover and cabinet dupe is coming along exactly like I wanted it to so far, but now it’s time for the final to step of recreating the cabinet doors.
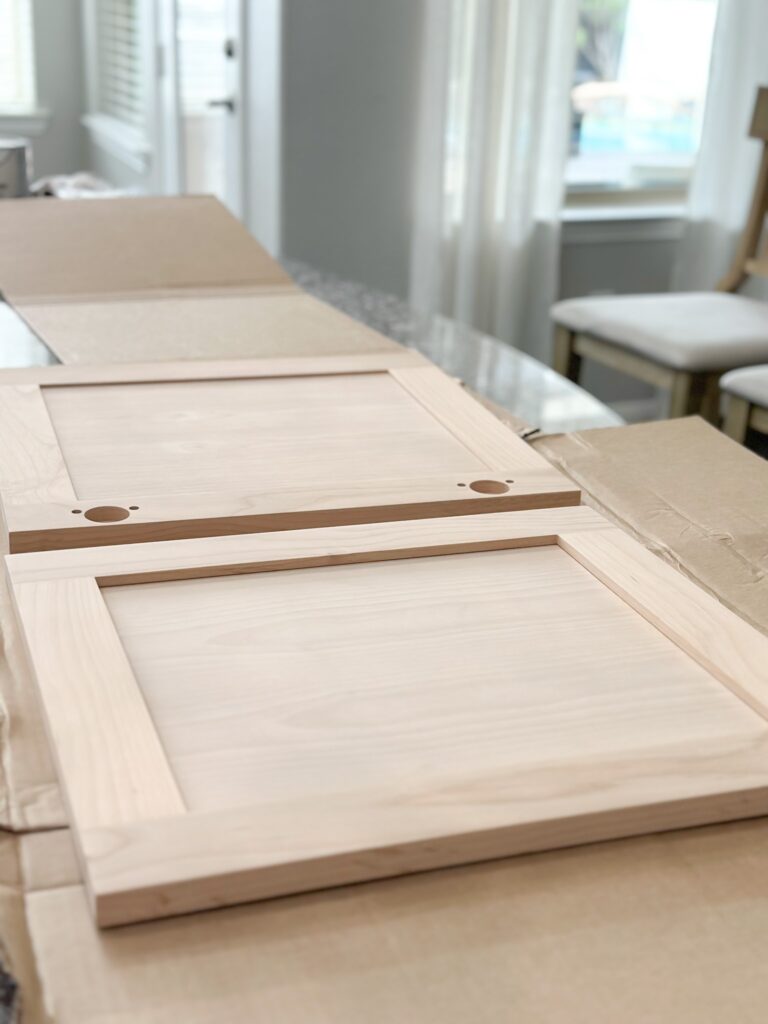
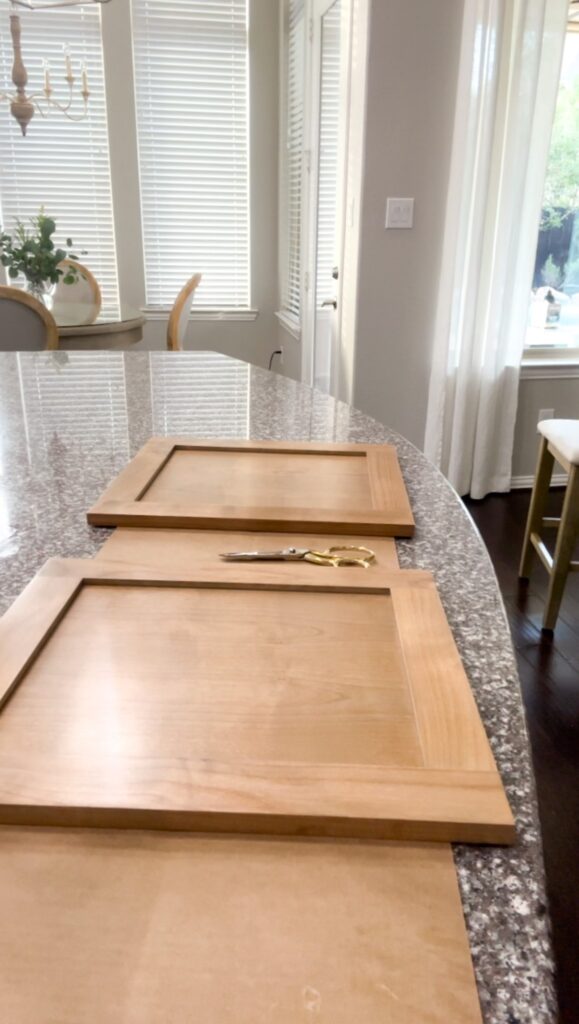
After everything was stained, I then applied 3 coats Polycrylic with a foam roller, lightly sanding in between coats with 220-Grit Sandpaper.
Adding Cane Webbing to Cabinet Doors
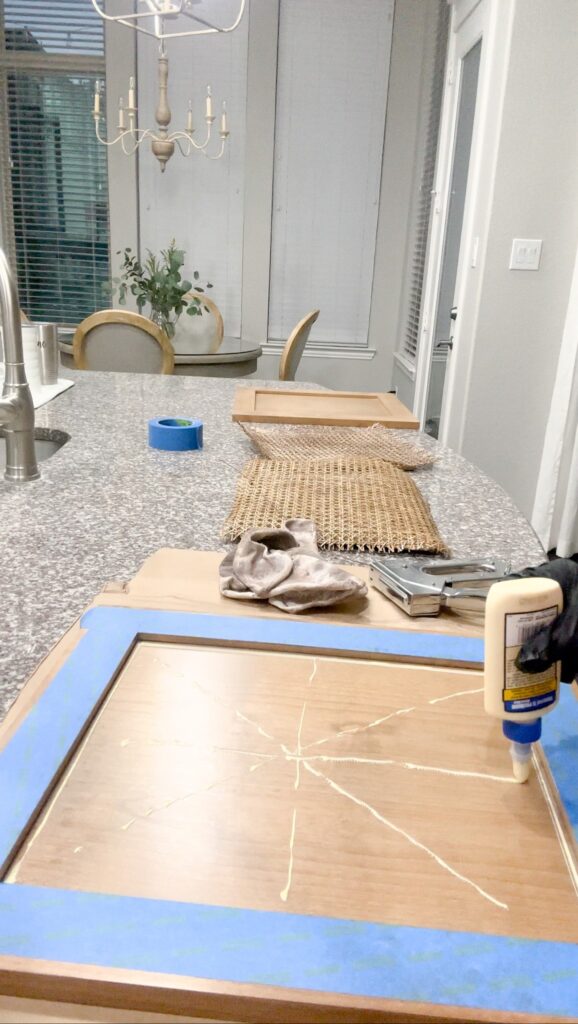
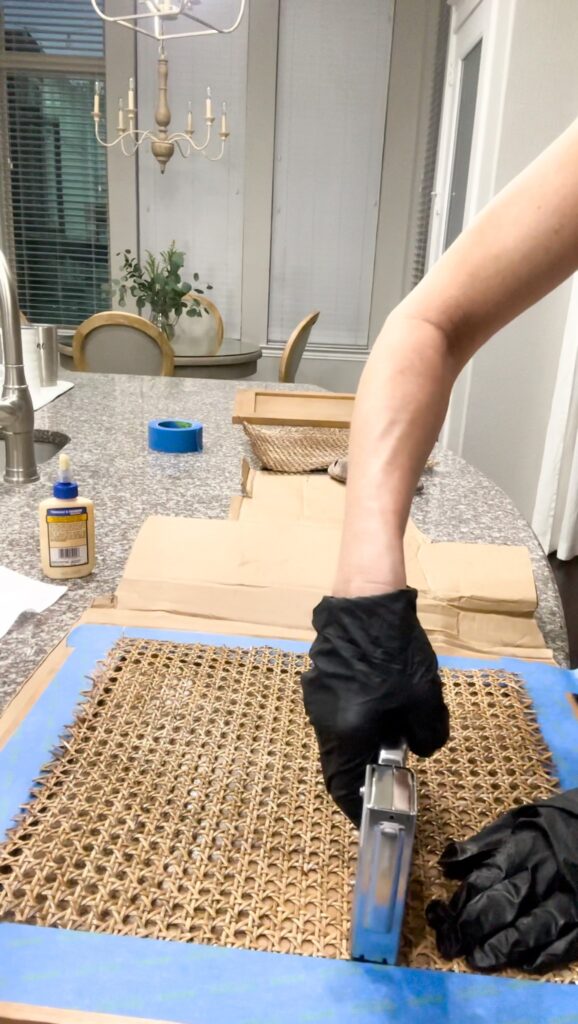
After I cut the Cane Webbing just slightly larger than the inset of the cabinet door panels, I soaked the webbing in warm water in my bathtub for at least 30 minutes. This is important, as it makes it more pliable and easy to work with. It also expands when wet and then tightens as it dries, creating a tighter look. Once they were done soaking I dried with a towel to dab of excess water and then stained while they were still wet. I find the stain soaks in better when the webbing is wet and porous.
Since the stain on the webbing is still slightly wet, it’s best to tape off the finished surface prior to adding the webbing to avoid blemishes in the stained surface. I added a little wood glue first for extra adhesion and dabbed the excess bleed through with a paper towel and then secured with a staple gun. Be sure to check the depth of your surface against the depth of your staples so that you don’t get a staple poking through the other side.
Adding Trim to the Cane Webbed Borders
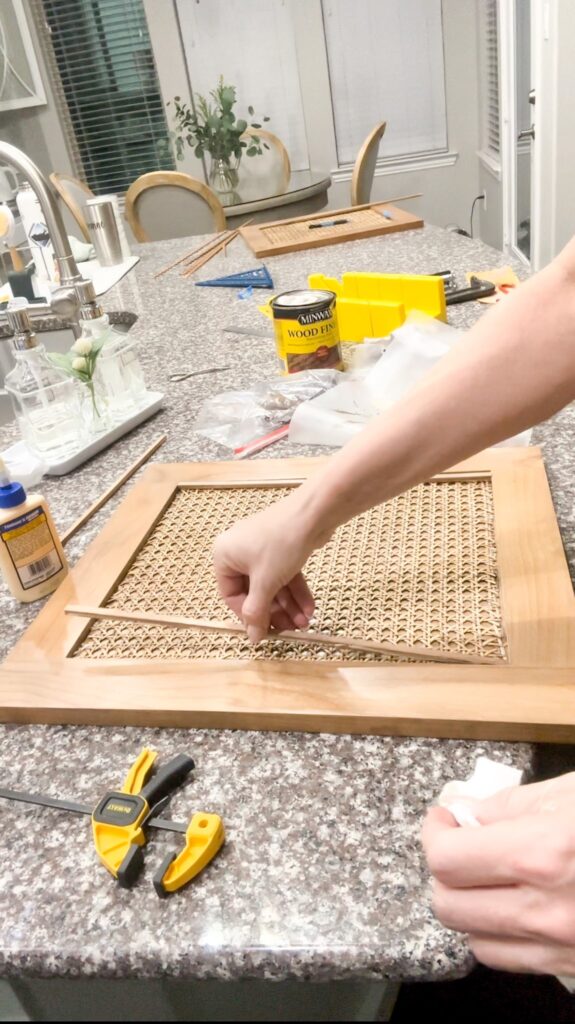
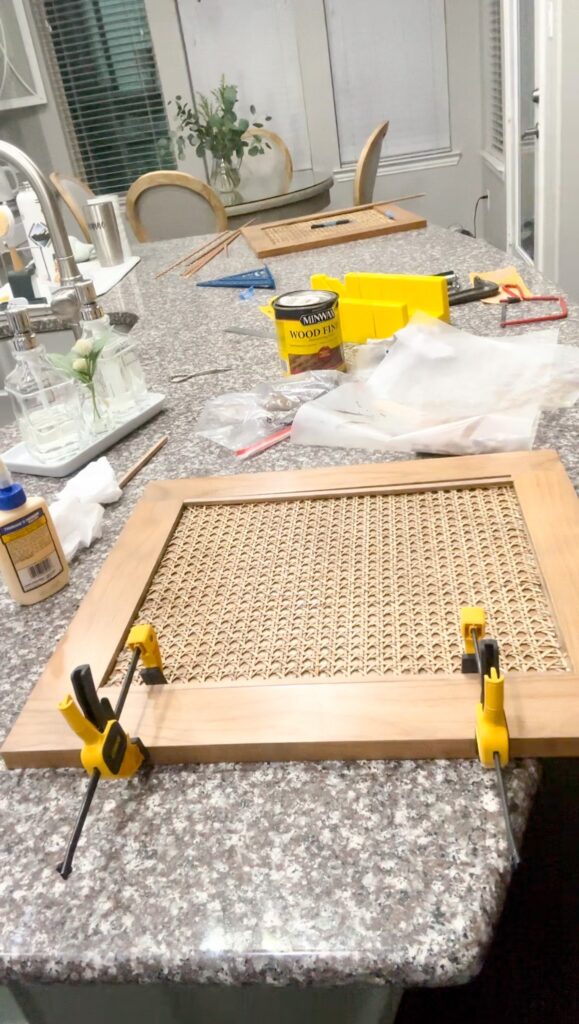
Using a Square Dowel cut to size, I added wood glue and then clamped until dry. Once all the pieces are added, clamped and dried, the doors are ready to be hung on the cabinet. Personally, I love Soft Close Hinges, so I opted to ditch the old hinges and give my new vanity an upscale soft-close feature.
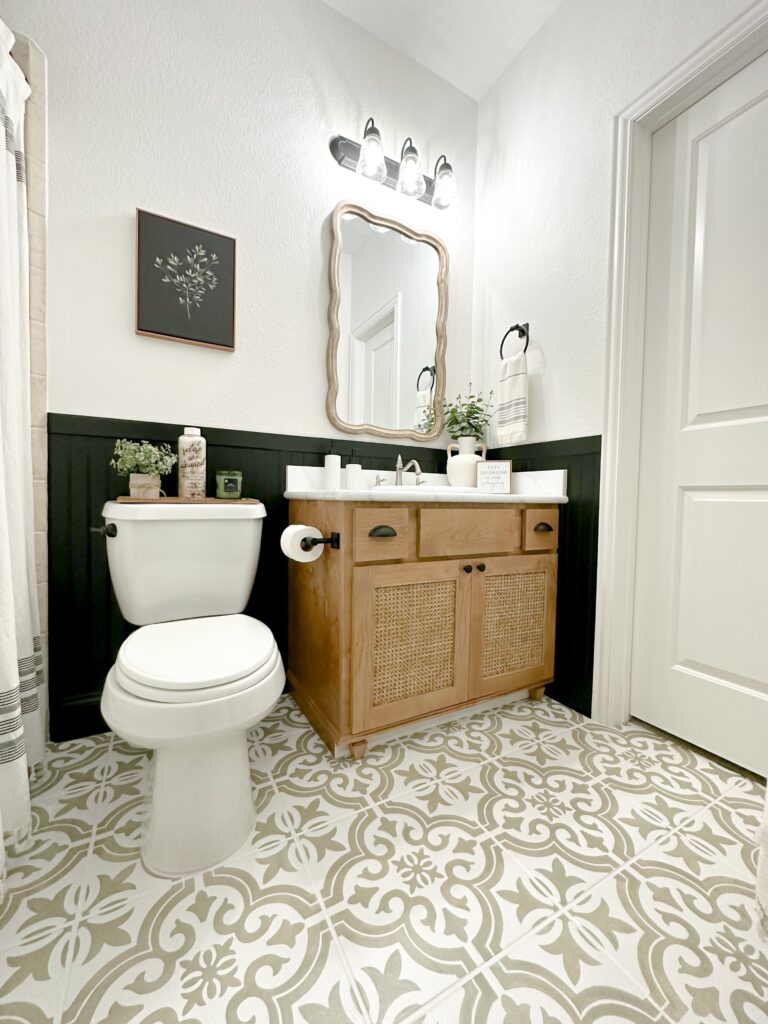
SUCCESS!!!
I am so in love with my bathroom vanity now, especially knowing I made it myself, while saving so much money!!! Again, the vanity I wanted retails for $3299. When I calculated the retailers taxes and shipping, it would have brought the total of the bathroom vanity to $3,837.41! I was able to recreate it for under $550…THAT’S A $3,287.00 SAVINGS! Keep in mind though that I already owned the pre-stain wood conditioner, stain, Polycrylic, wood glue, wood filler, epoxy countertop kit, nail gun/nails, staple gun/staples, as well as the side and under cabinet paneling that was used. However, even if I had to purchase all of those things, it still would have saved me thousands of dollars!
Bathroom Accessories
I’ve linked below my bathroom accessories in case you’re looking to create a similar overall look:
- Vanity Mirror
- Cabinet Knobs
- Drawer Pulls
- Bath Towels
- Wash Cloth
- Hand Towels
- Towel Ring
- Towel Hooks
- Door Hook
- Toilet Paper Roll Holder
- Soft Close Toilet Lid with Black Hinges
- Toilet Tank Lever
- Shower Curtain Rod
- Curtain Rings
- Shower Curtain
- Bath Mat
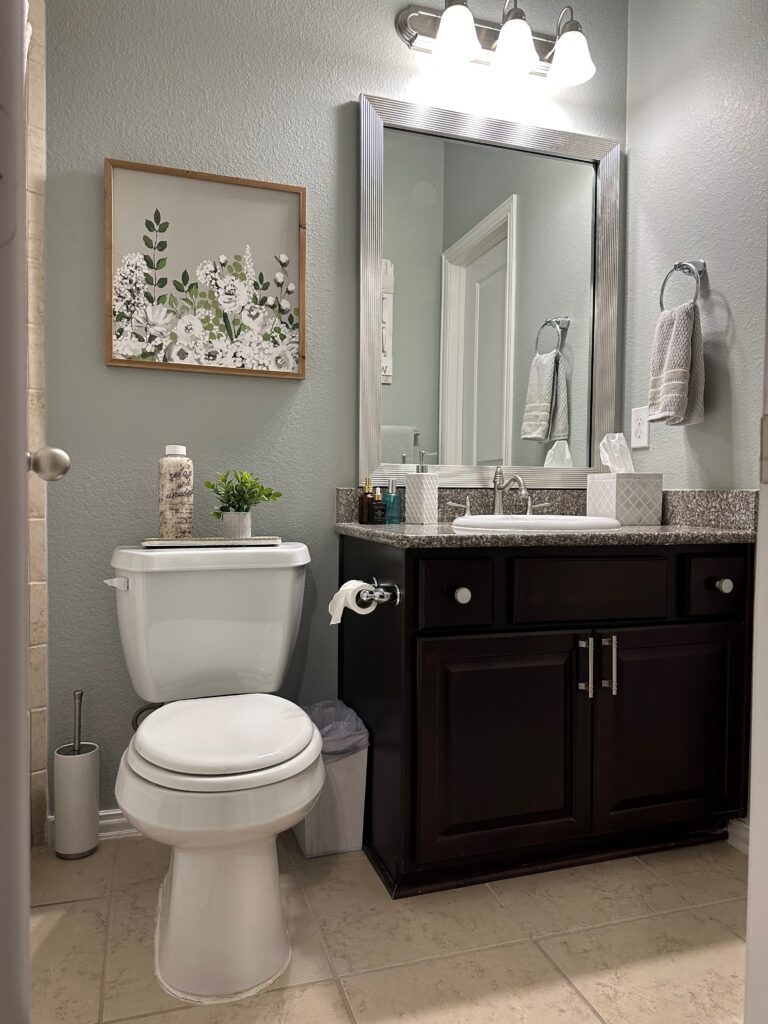
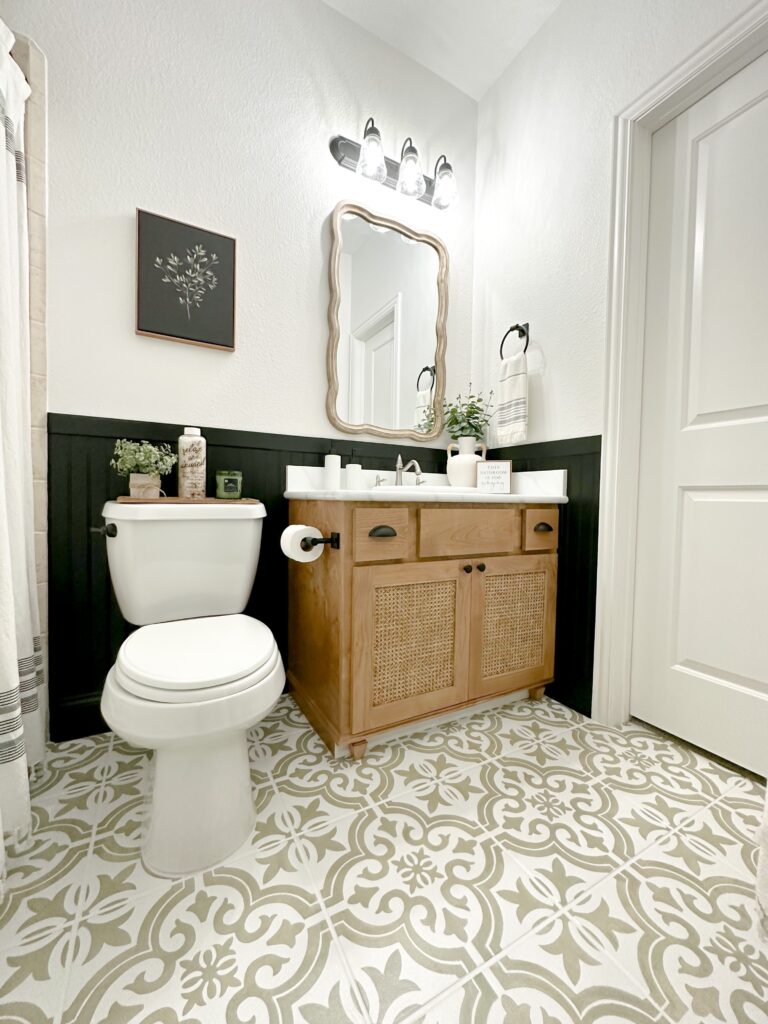
…and Finally a Side-by-Side Before and After
Follow me @Roxy_Home_Living on Instagram for more inspo!
Jun 16, 2023
Save Money with a High End Bathroom Vanity Easy DIY Dupe
Leave a Reply Cancel reply
copyright © 2021 Roxy Home Living - home decor inspiration, Diy & blog
- all rights reserved -
Wow, what a beautiful transformation. Love that vanity…so pretty. Pinning so I’ll remember this when it’s time to makeover our bathroom. Sharing in our weekly round-up.
So happy you enjoyed it! Thank you for the nice compliment and for sharing in your weekly round-up!